INTERMEDIATECOURSE
Experimental Javascript
Learn Three.js, Matter.js and PIXI.js to make interactive websites using collision engines, displacement maps and interactive 3D in the browser.

Taught by
Rik Lomas
Taught by
Rik Lomas
If you're a creative person who wants to make experimental, art-driven websites, this is the perfect course to make websites that stand out from the crowd.
In this short online course you'll dive deep into the world of experimental Javascript. Discover the world of collision engines, displacement maps and interactive 3D in the browser with libraries like PIXI.js and Three.js.
This is a great next step for students who already have some knowledge of HTML, CSS and Javascript, or have completed our Foundation HTML, CSS + Javascript and Javascript for Designers courses.
A computer with Mac OS X 10.9 or above, Windows XP or above, or a recent Linux version installed and a broadband internet connection. Nothing more!
Anyone who is looking to take their creative Javascript skills to the next level, or anyone who is looking to get started with complex Javascript libraries like Three.js, PIXI.js or Matter.js.
We would recommend some knowledge of HTML, CSS and Javascript before this course starts. If you have done either our Foundation HTML, CSS + JS or Javascript for Designers course, this will be suitable for you.
Most of our students work in the creative industries – designers, strategists and copywriters are the most common jobs – but you can work in any industry to join the course.
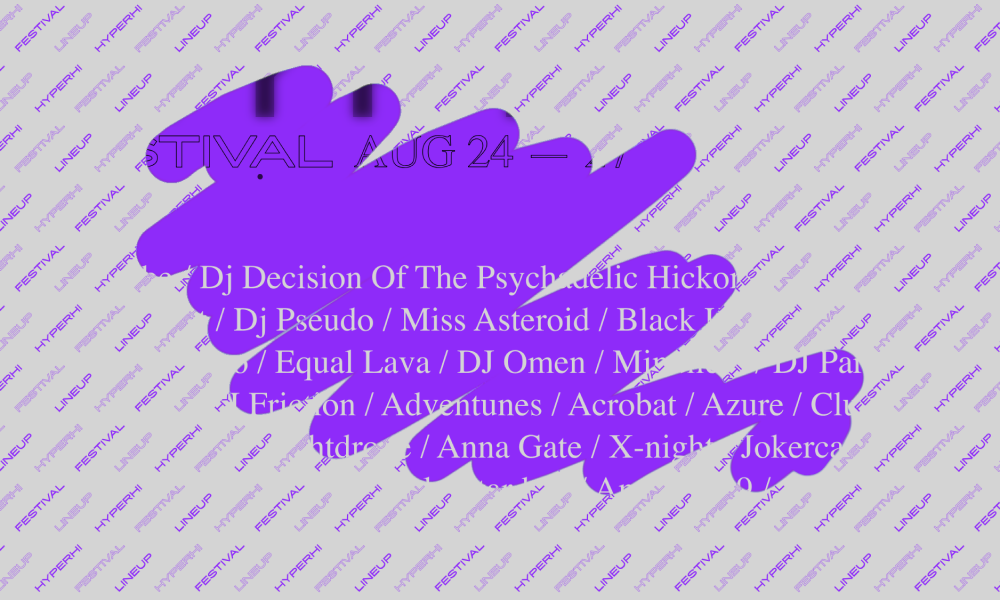
We start the course by drawing with HTML canvas, exploring different events and adding in blend modes.
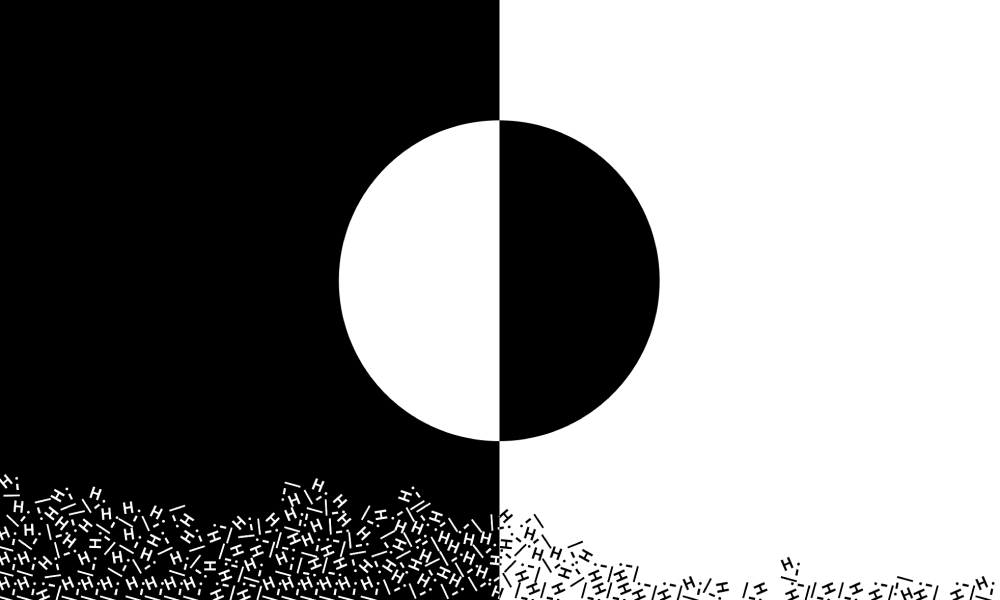
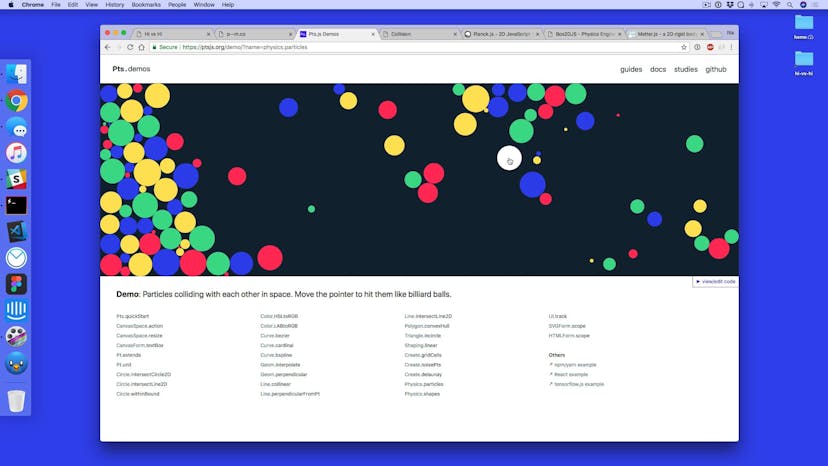
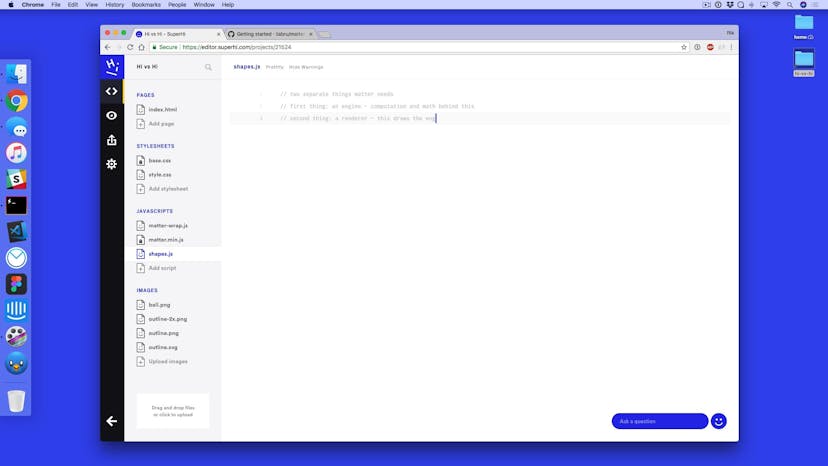
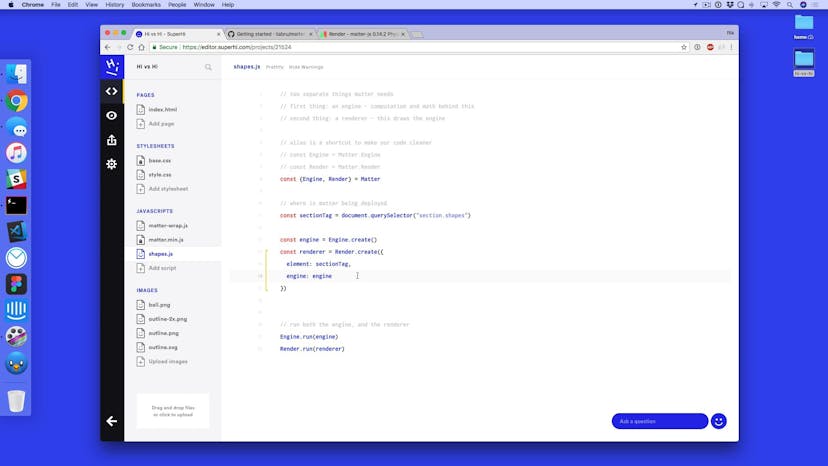
Using Matter.js, we add a physics collision engine to our site to make our shapes collide, be dragged and have gravity.
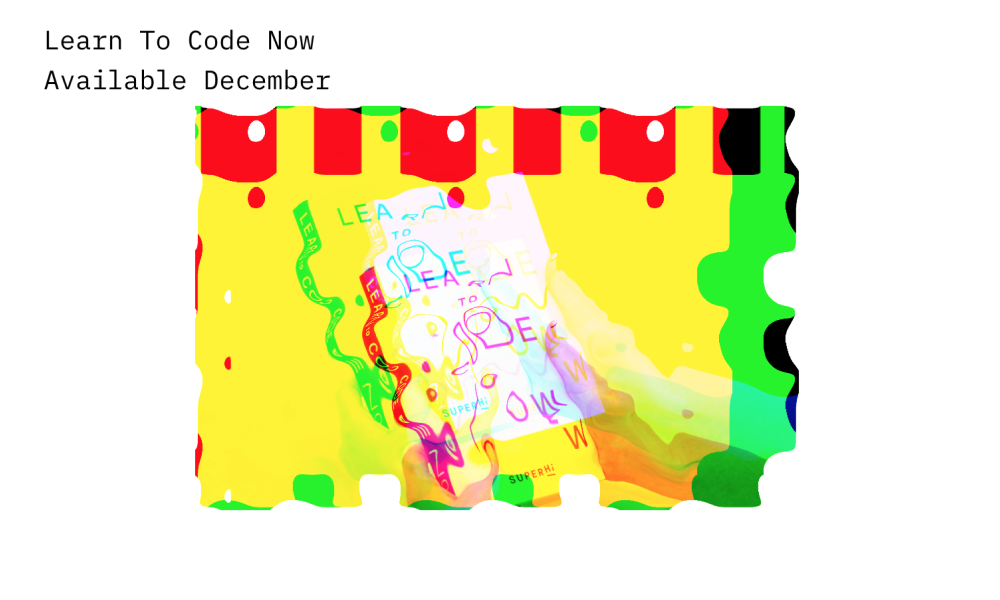
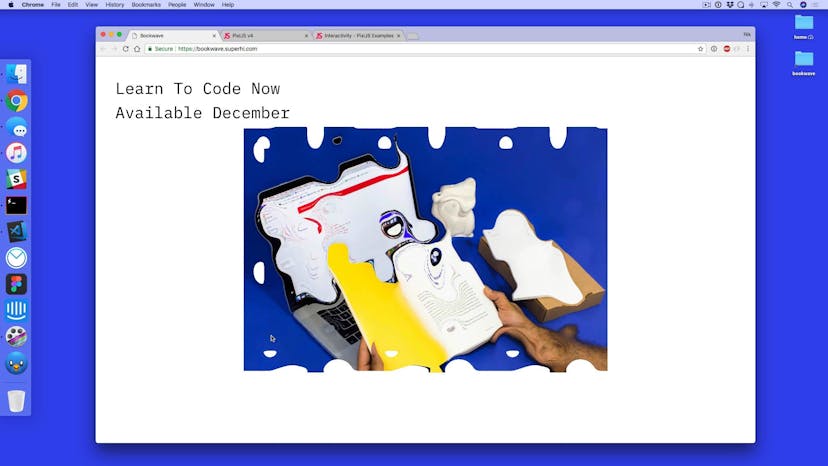
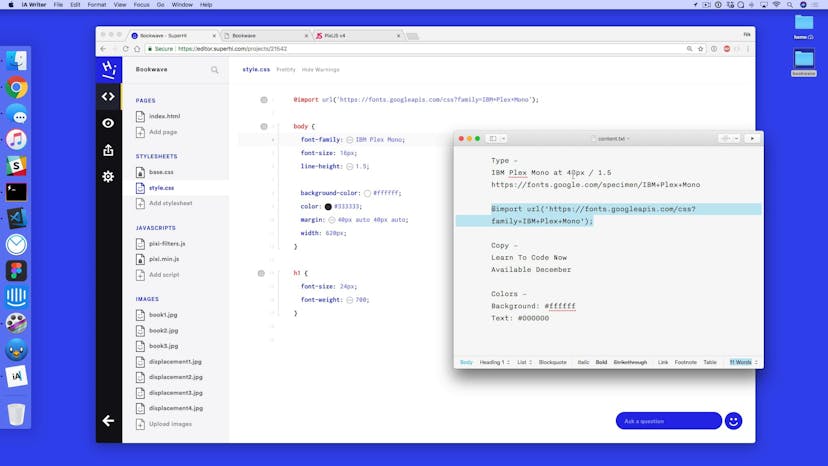
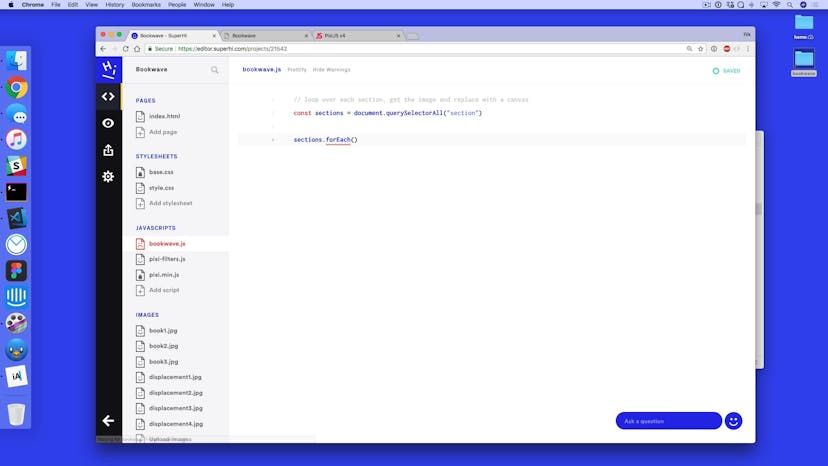
With Pixi.js, we use 2D WebGL to add displacement and RGB split filters to our images on both with and without mouse movement.
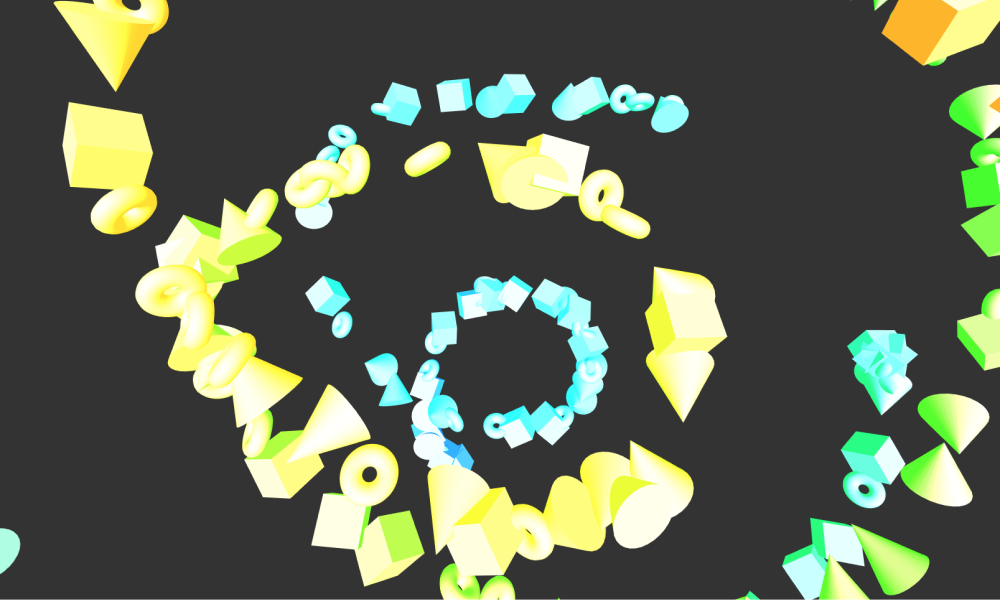
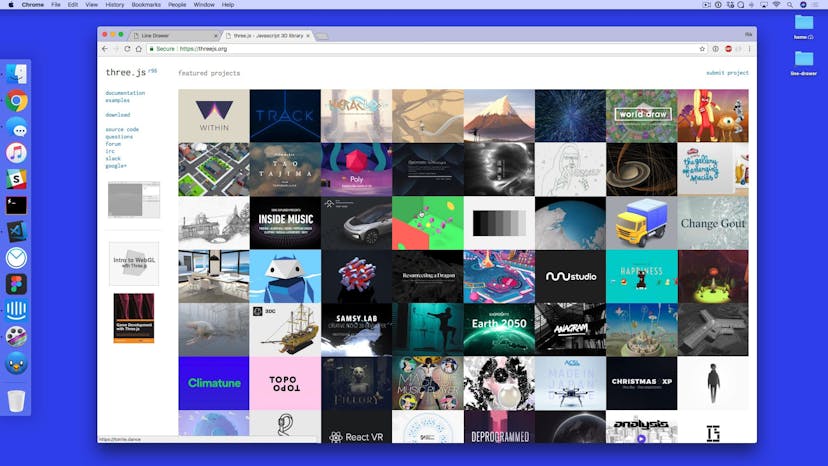
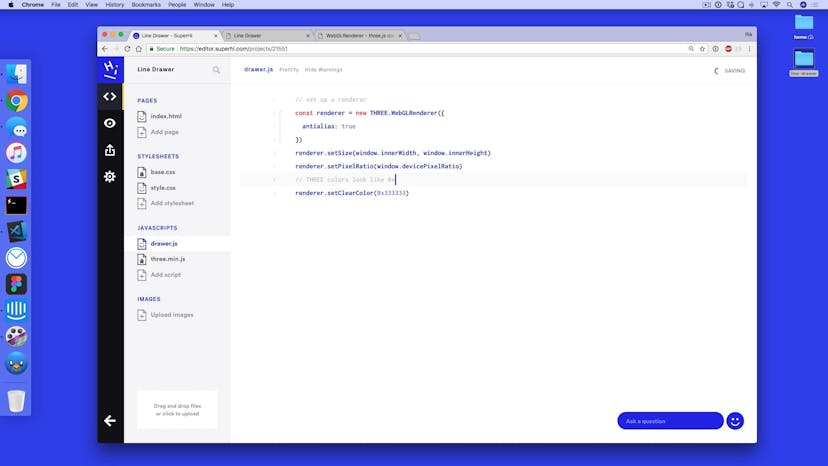
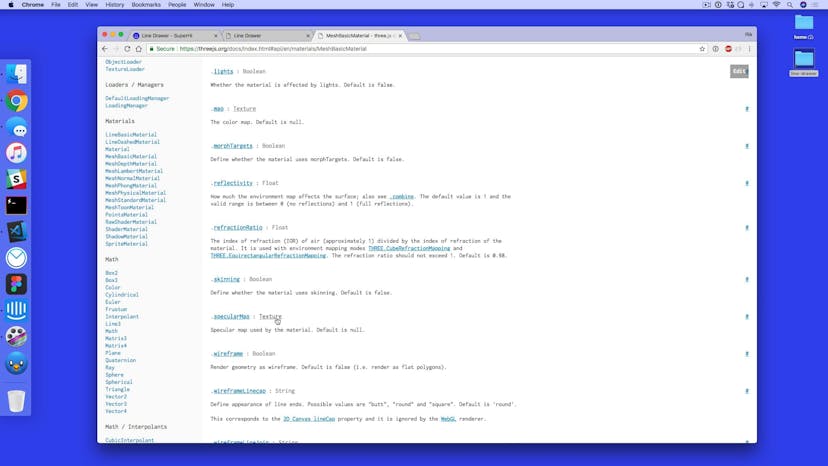
We dive into 3D in the browser and use Three.js to add cameras, scenes, geometries, materials and meshes to our project.
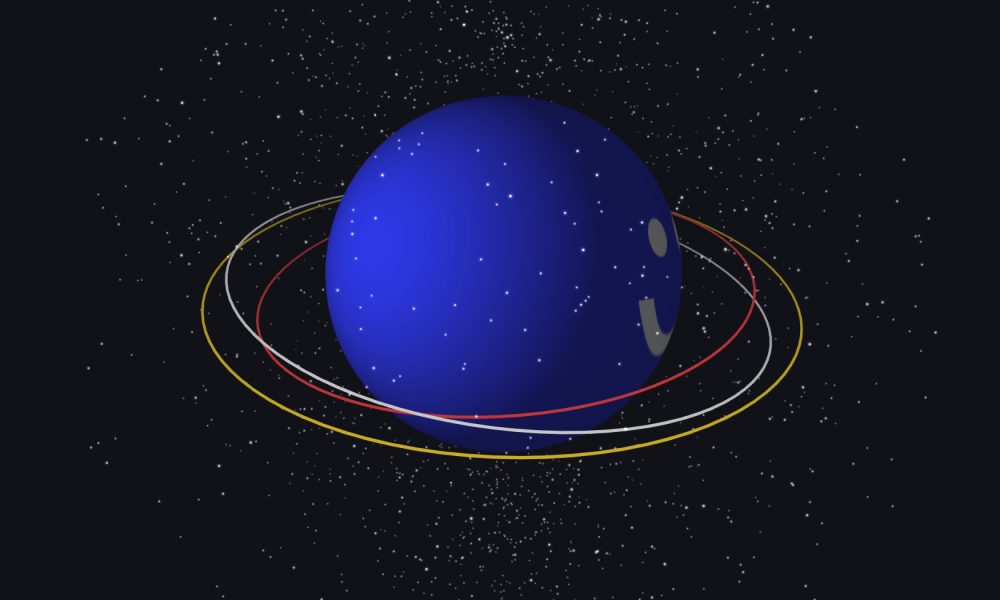
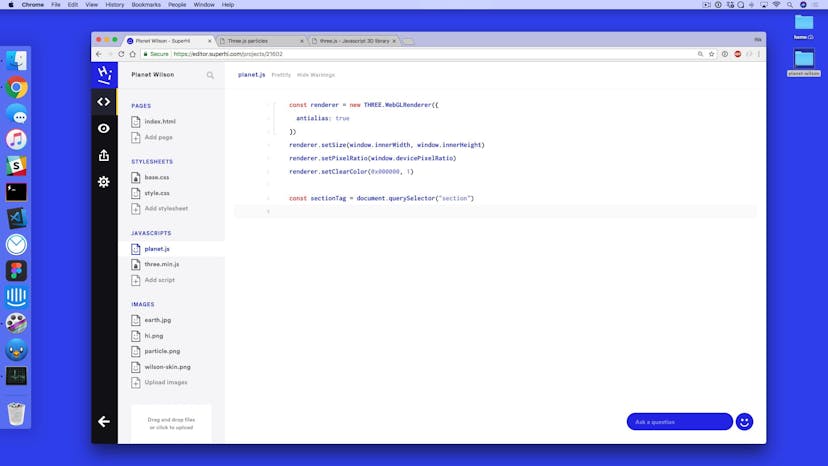
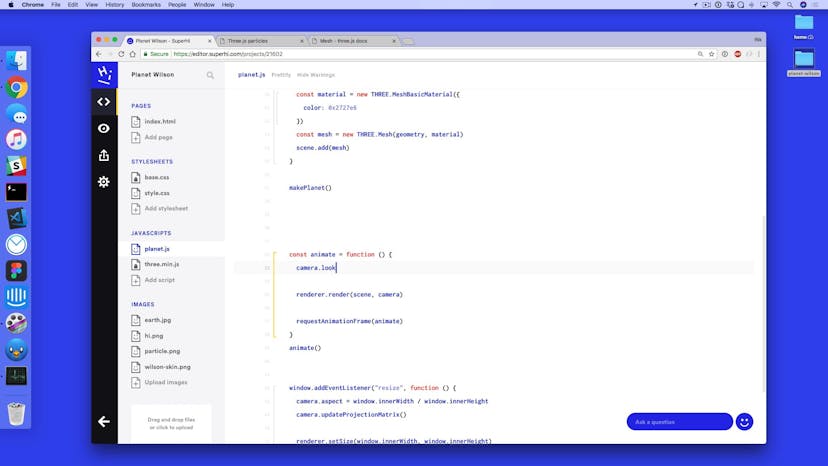
On the second of three Three.js projects, we add particles, textures and tweening to our solar system.
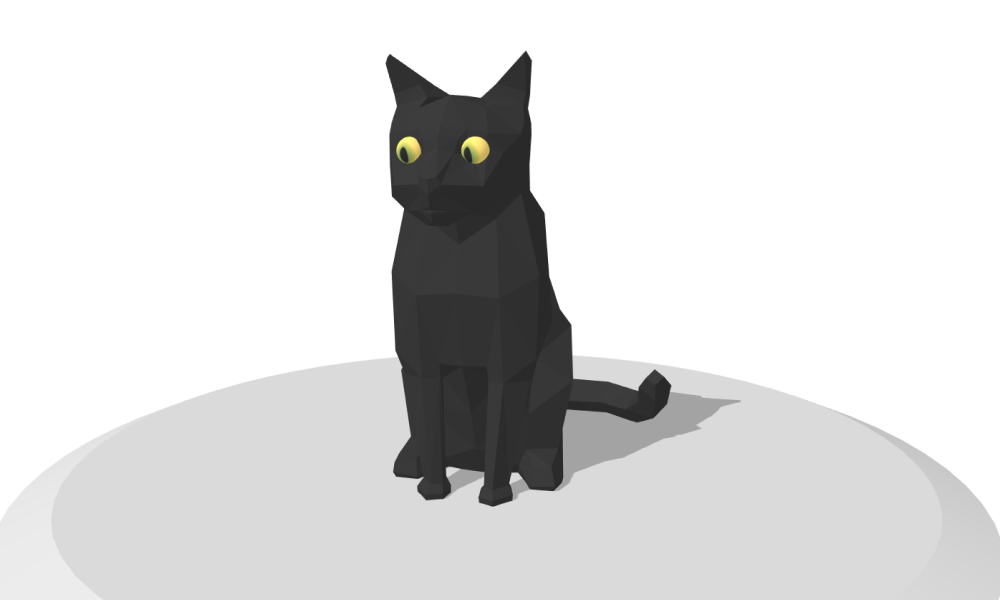
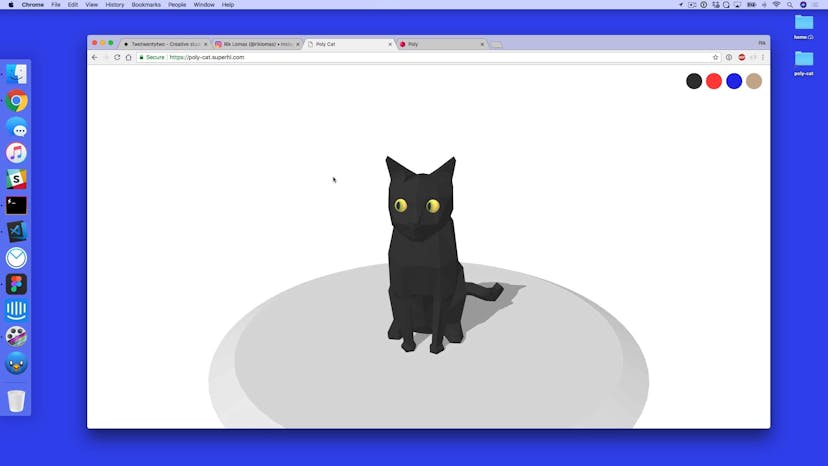
We tie together all of our Three.js learnings by adding a dynamic object to our scene that we can alter and interact with

Rik (he/him) is a Mancunian coder, teacher and CEO of SuperHi. He was the co-founder of Steer (a code school in London) and has taught several thousand people to code. He is a bit too old to be posting memes on our social media and recently featured as a Sour Patch Kid in the Macy's Thanksgiving Parade.

Lawrence Gosset
Lesson 01
Welcome to the Experimental Javascript course
Lesson 02
Introduction to Hyperhi
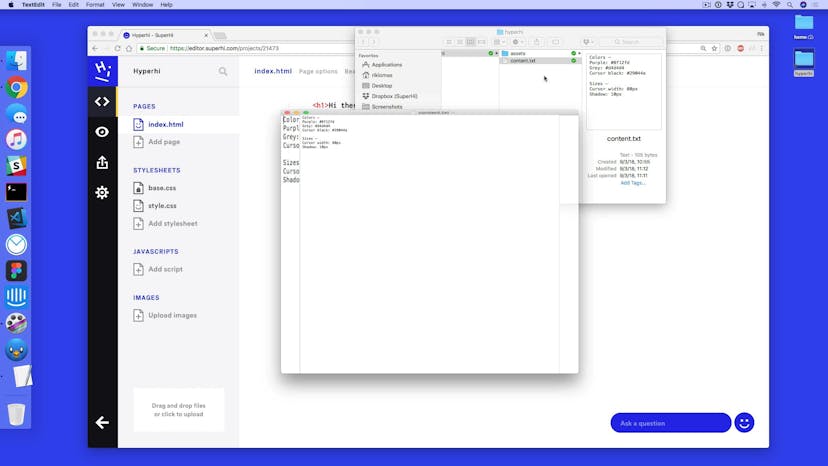
Lesson 03
What is the SuperHi Editor?
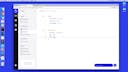
Lesson 04
Setting up a custom cursor
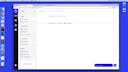
Lesson 05
Adding our first Javascript file
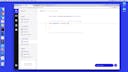
Lesson 06
Adding functions to Javascript
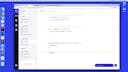
Lesson 07
Growing and shrinking the cursor
Lesson 08
Making the cursor follow the mouse
Lesson 09
Variation: adding text to our custom cursor
Lesson 10
Setting up our canvas
Lesson 11
What is context in HTML canvas?
Lesson 12
Drawing rectangles with HTML canvas
Lesson 13
Drawing a line with HTML canvas
Lesson 14
Pen up and down
Lesson 15
Adding independent paths
Lesson 16
Variation 1: hidden text
Lesson 17
Variation 2: making the canvas size full page
Lesson 18
What are blend modes
Lesson 19
Adding in mix-blend-mode
Lesson 20
Variation: adding in background animation
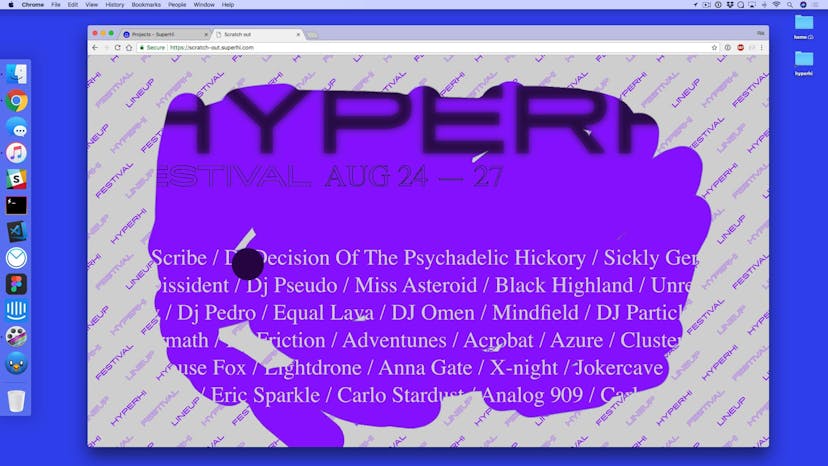
Lesson 21
Scratch out, not in
Lesson 22
Combining scratch outs and ins using Figma
Lesson 23
Joining blend modes together
Lesson 24
Fixing the design on window resize
Lesson 25
Adding in shadow blur to HTML canvas
Lesson 01
Introduction to the project
Lesson 02
Setting up Matter.js
Lesson 03
What is deconstruction and adding options?
Lesson 04
Adding shapes to Matter.js
Lesson 05
Rendering a body shape
Lesson 06
Adding a static ball
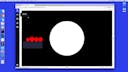
Lesson 07
Adding a ground floor
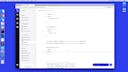
Lesson 08
Adding walls
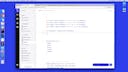
Lesson 09
How to add mouse control to Matter.js
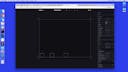
Lesson 10
Variation: adding more options from Matter.js
Lesson 11
Adding a stack of shapes on load
Lesson 12
Adding an image sprite to a shape
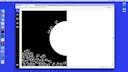
Lesson 13
Putting a mix-blend-mode
Lesson 14
Variation: adding hover changes to shapes
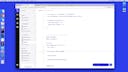
Lesson 15
Variation: adding a gravity change in a loop
Lesson 16
Variation: adding device orientation to gravity
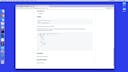
Lesson 17
Variation: Adding a wrapping plugin to Matter.js
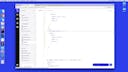
Lesson 18
Variation: adding randomness to our shapes
Lesson 01
Introduction to Bookwave
Lesson 02
Setting up the HTML and CSS
Lesson 03
Initial Javascript setup
Lesson 04
Adding Pixi.js applications
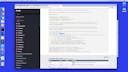
Lesson 05
Importing an image into Pixi
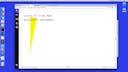
Lesson 06
Variation: Adding rotation to the sprite
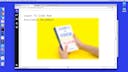
Lesson 07
Adding a blur filter
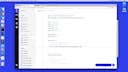
Lesson 08
Adding a displacement filter: part 1
Lesson 09
Adding a displacement filter: part 2
Lesson 10
Adding a RGB split filter
Lesson 11
Interacting with our filters using mousemove
Lesson 12
Tweening our interactions
Lesson 13
Changing our RGB split filter
Lesson 14
Automatic movement
Lesson 01
Introduction to Line Drawer
Lesson 02
Setting up Three.js
Lesson 03
Adding a shape to Three.js
Lesson 04
Adding lights to Three.js
Lesson 05
Animating rotation on a shape
Lesson 06
Changing position of shapes
Lesson 07
Adding shapes on click
Lesson 08
Drawing shapes on mouse interaction
Lesson 09
Changing the shape's hue
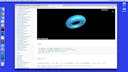
Lesson 10
Selecting a random geometry
Lesson 11
Moving the camera and the shapes
Lesson 12
Fixing inertia scrolling on mobile
Lesson 13
Changing our camera settings
Lesson 01
Intro to Planet Wilson
Lesson 02
Setting up Three.js on our page
Lesson 03
Adding Planet Wilson as a sphere geometry
Lesson 04
Adding a texture to a material
Lesson 05
Variation: turn globe on scroll events
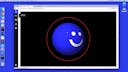
Lesson 06
Adding rings to our scene
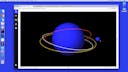
Lesson 07
Variation: adding a moon
Lesson 08
Camera movement with mouse
Lesson 09
Tweening the camera movement
Lesson 10
Adding a points field to Three.js
Lesson 11
Making our star field spherical
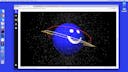
Lesson 12
Adding a texture to our stars
Lesson 13
Adding fog to a scene
Lesson 14
Variation: adding a random texture
Lesson 15
Variation: adding a trail line
Lesson 16
Variation: draw to move
Lesson 17
Variation: spherical camera movement
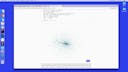
Lesson 18
Adding real randomness
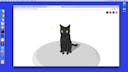
Lesson 01
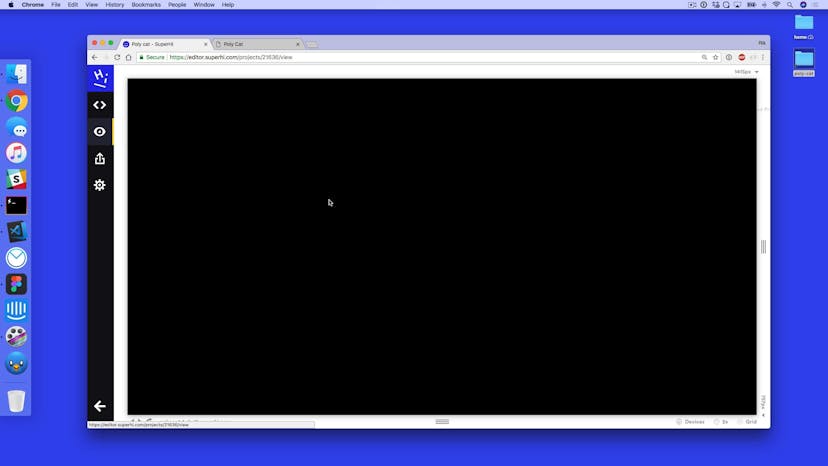
Introduction to Poly Cat
Lesson 02
Setting up Three.js
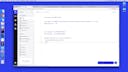
Lesson 03
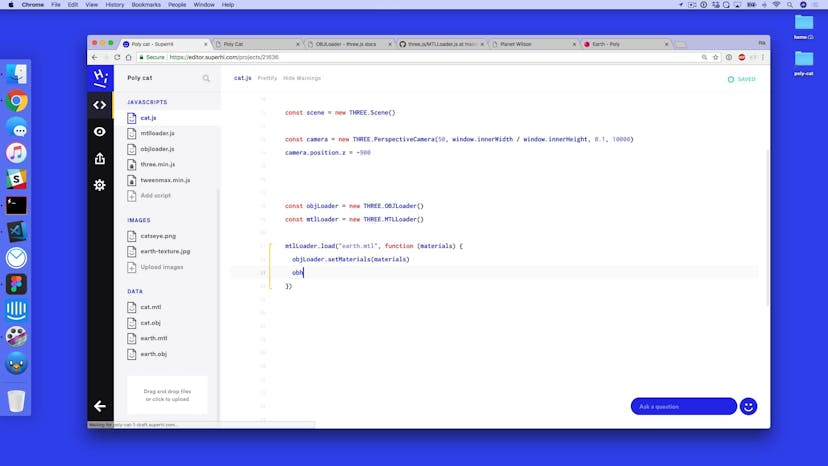
Adding a Google Poly earth model
Lesson 04
Refactoring our code with Promises
Lesson 05
Adding a Google Poly cat
Lesson 06
Changing the model's material
Lesson 07
Adding a floor for our cat
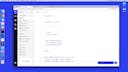
Lesson 08
Camera movement with tweening
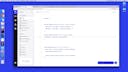
Lesson 09
Adding a camera zoom on mouse wheel
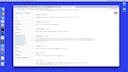
Lesson 10
Casting shadows
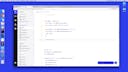
Lesson 11
Adding eyes to our cat
Lesson 12
Making the eyes follow the camera and cursor
Lesson 13
Changing the cat color on click
Lesson 14
Using TweenMax to tween colors
Lesson 15
Variation: how to click on objects within Three.js

Lesson 16
Back to Twotwentytwo
Our students are based all over the world and work at creative companies large and small. Why not check out some of their work?
View student workDon’t worry, we are here to help you with:
Remember, there’s no such thing as a silly question, so don’t hesitate to reach out, we love hearing from you!