
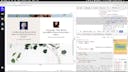
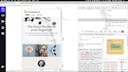
Foundation HTML, CSS + Javascript
Want to learn how to code? This is the perfect place to learn how to confidently make your own websites from scratch.


Taught by
Lawrence Gosset and Rik Lomas
Frequently Asked Questions
I’m interested in pursuing a career as a front end developer. Is this course for me?
I’m interested in pursuing a career as a front end developer. Is this course for me?
I’m pretty familiar with HTML and CSS, but am new to JavaScript. Should I take this course?
I’m pretty familiar with HTML and CSS, but am new to JavaScript. Should I take this course?
Is this like a coding bootcamp? Will it get me a job?
Is this like a coding bootcamp? Will it get me a job?
Do I need any prior knowledge of code?
Do I need any prior knowledge of code?
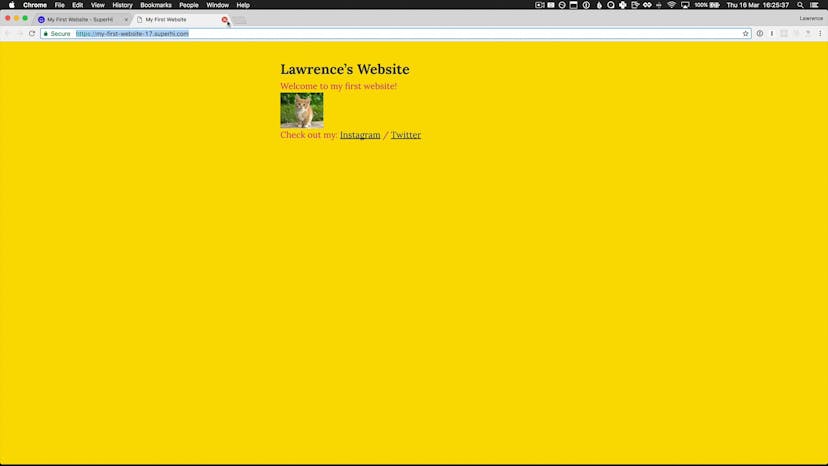
What will I be able to make after this course?
What will I be able to make after this course?
Can I use a different code editor instead of the SuperHi Editor?
Can I use a different code editor instead of the SuperHi Editor?
Do you have any sample videos of what the courses are like?
Do you have any sample videos of what the courses are like?
Do you teach responsive design?
Do you teach responsive design?


Get access to Foundation HTML, CSS + Javascript
- Practical, go-at-your-own pace learning, with help from our industry experts and experienced teachers
- Projects and code that you can alter and include in your own sites and portfolio
- Resources to get you started and going post-course
Your instructors

Lawrence Gosset

Rik Lomas
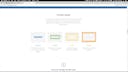
Course structure
Lesson 01
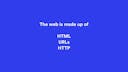
What is the World Wide Web?

Lesson 02
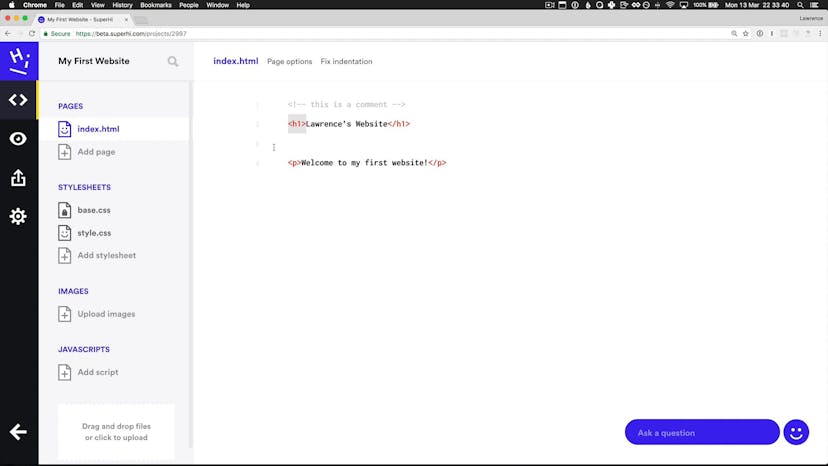
What is SuperHi?
Lesson 03
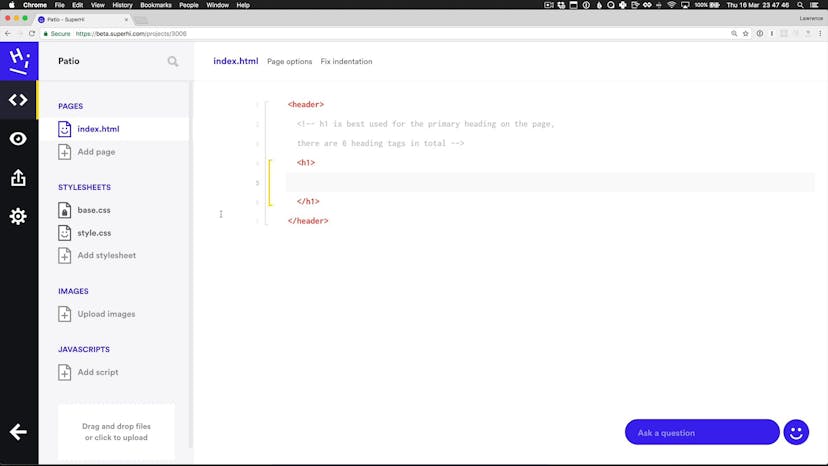
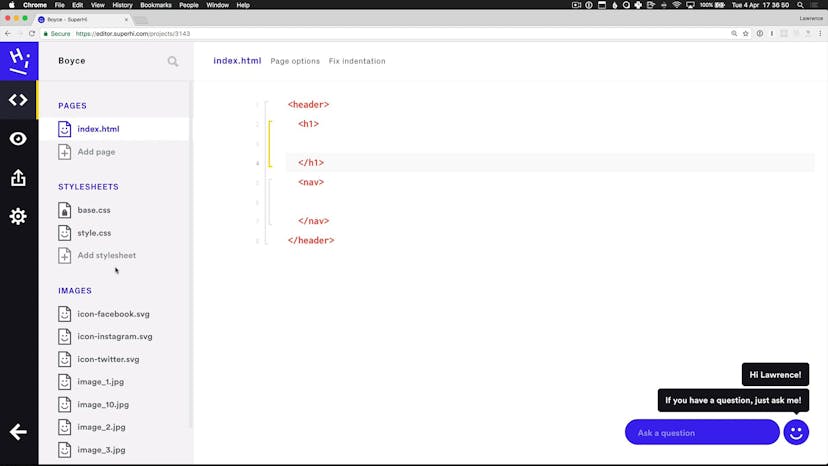
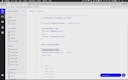
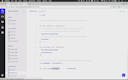
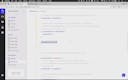
Writing our first HTML
Lesson 04
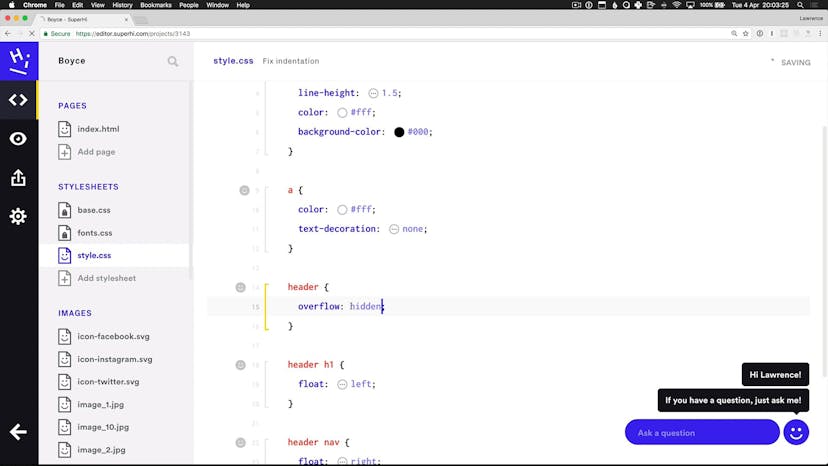
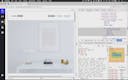
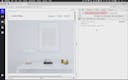
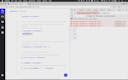
Writing our first CSS
Lesson 05
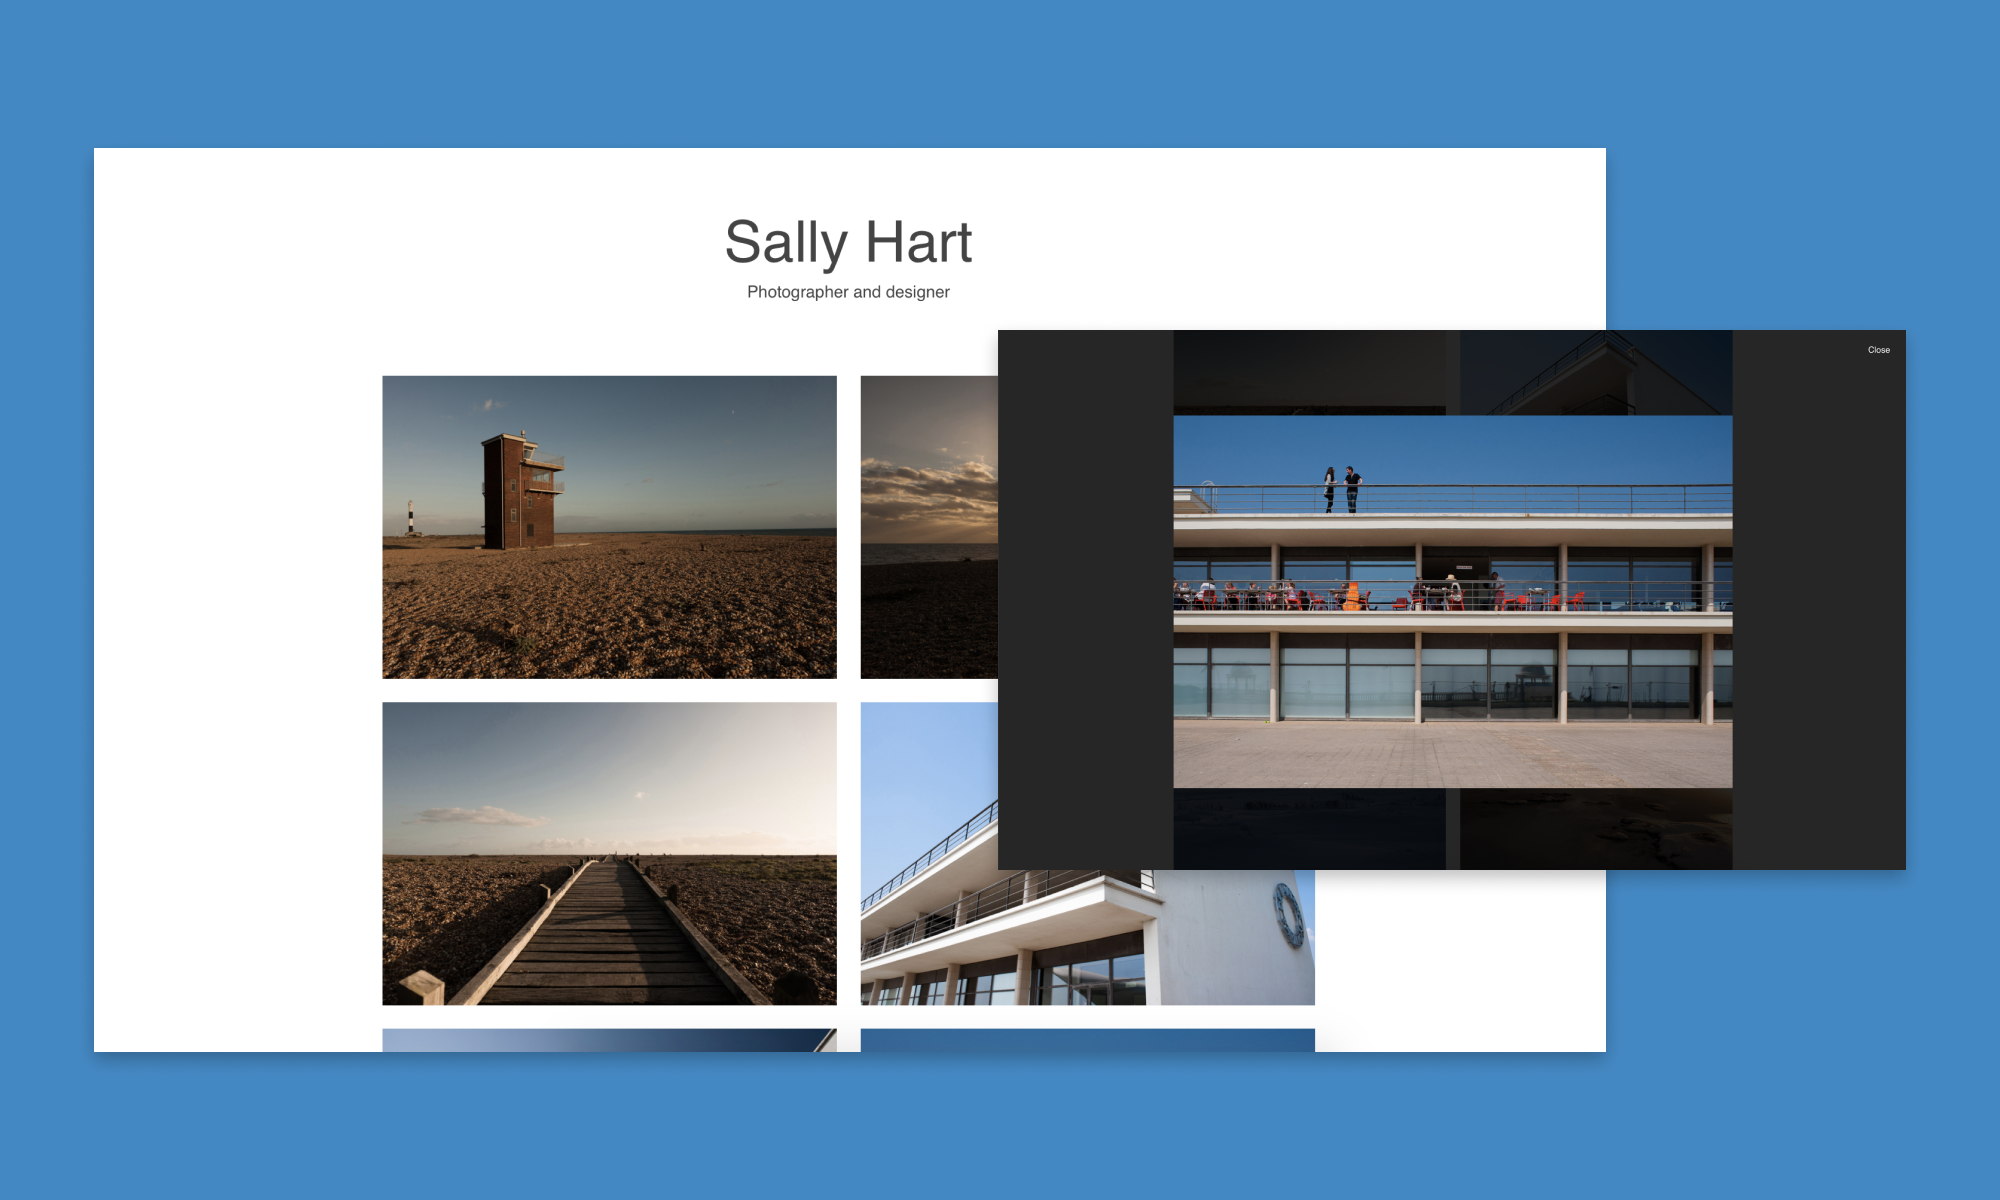
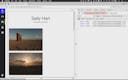
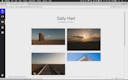
Sally Hart Photography Part 1
Lesson 06
Sally Hart Photography Part 2

Lesson 07
Sally Hart Photography Part 3

Lesson 08
Sally Hart Photography Part 4

Homework 01
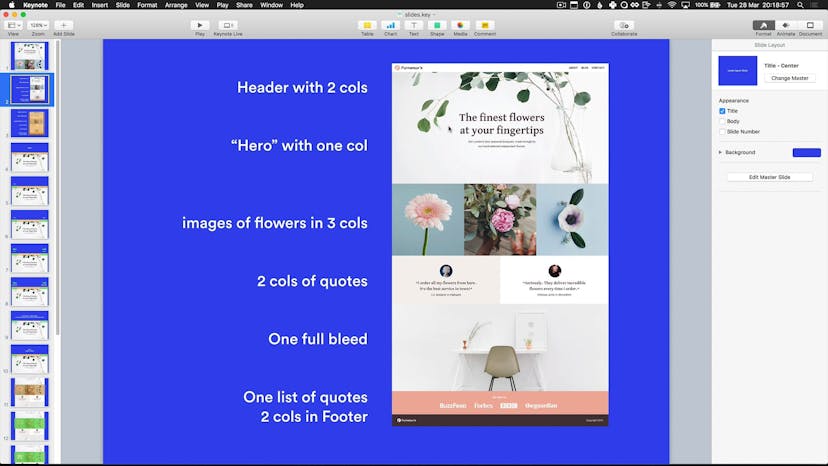
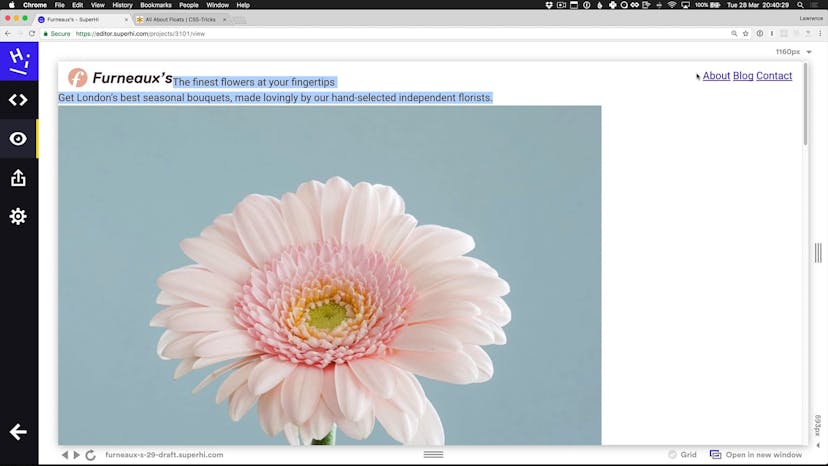
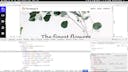
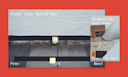
The Pen Is Mightier Than The Sword


Lesson 01
Project overview and initial HTML
Lesson 02
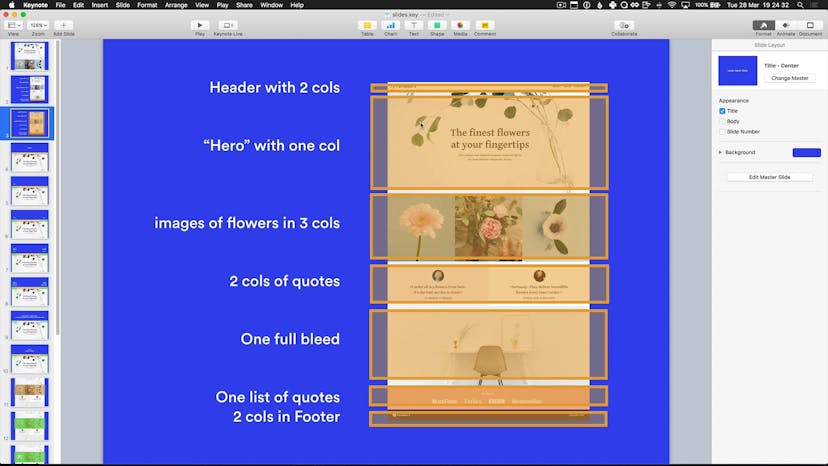
Header and hero section HTML

Lesson 03
Getting content into columns using CSS floats
Lesson 04
Using background-position and vertically centering text

Lesson 05
Multiple columns using fluid percentage widths
Lesson 06
Remaining HTML and a quick look at symbols
Lesson 07
Styling up quotes sections
Lesson 08
Rounding corners using border-radius
Lesson 09
Sharing CSS classes between elements
Lesson 10
Figuring out responsive breakpoints
Lesson 11
Removing floats and responsive styles

Lesson 12
Responsive styles and hiding elements
Lesson 13
Adding multiple media queries and fine tuning
Lesson 14
Styling specific elements using nth-child
Lesson 15
Fixing the header and using drop shadows
Lesson 16
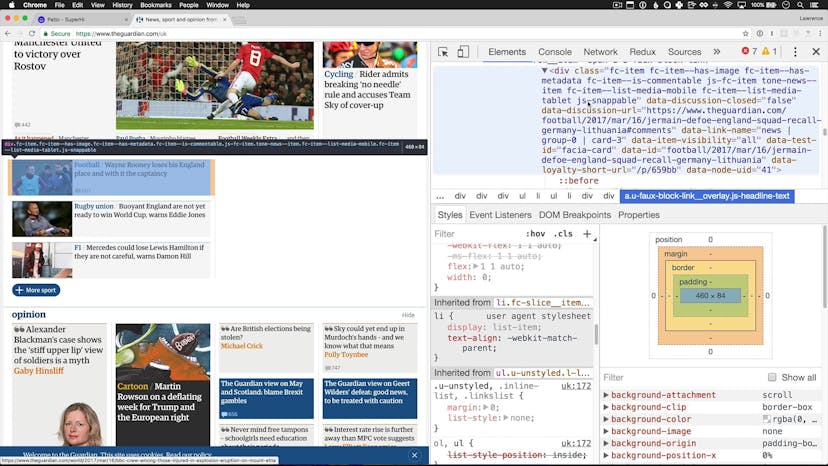
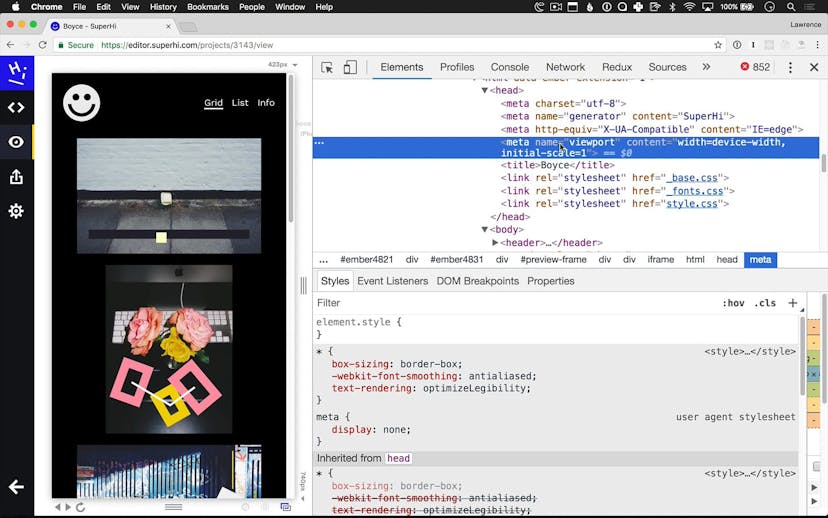
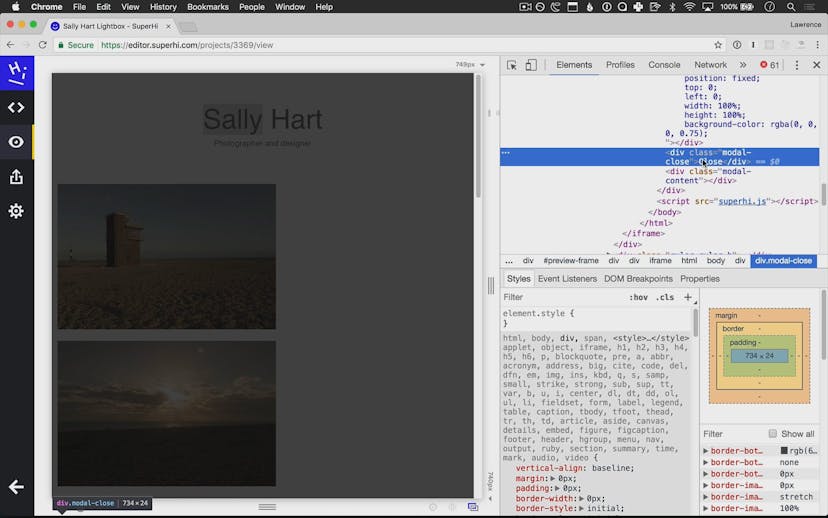
Using the Chrome developer tools to inspect websites

Homework 01
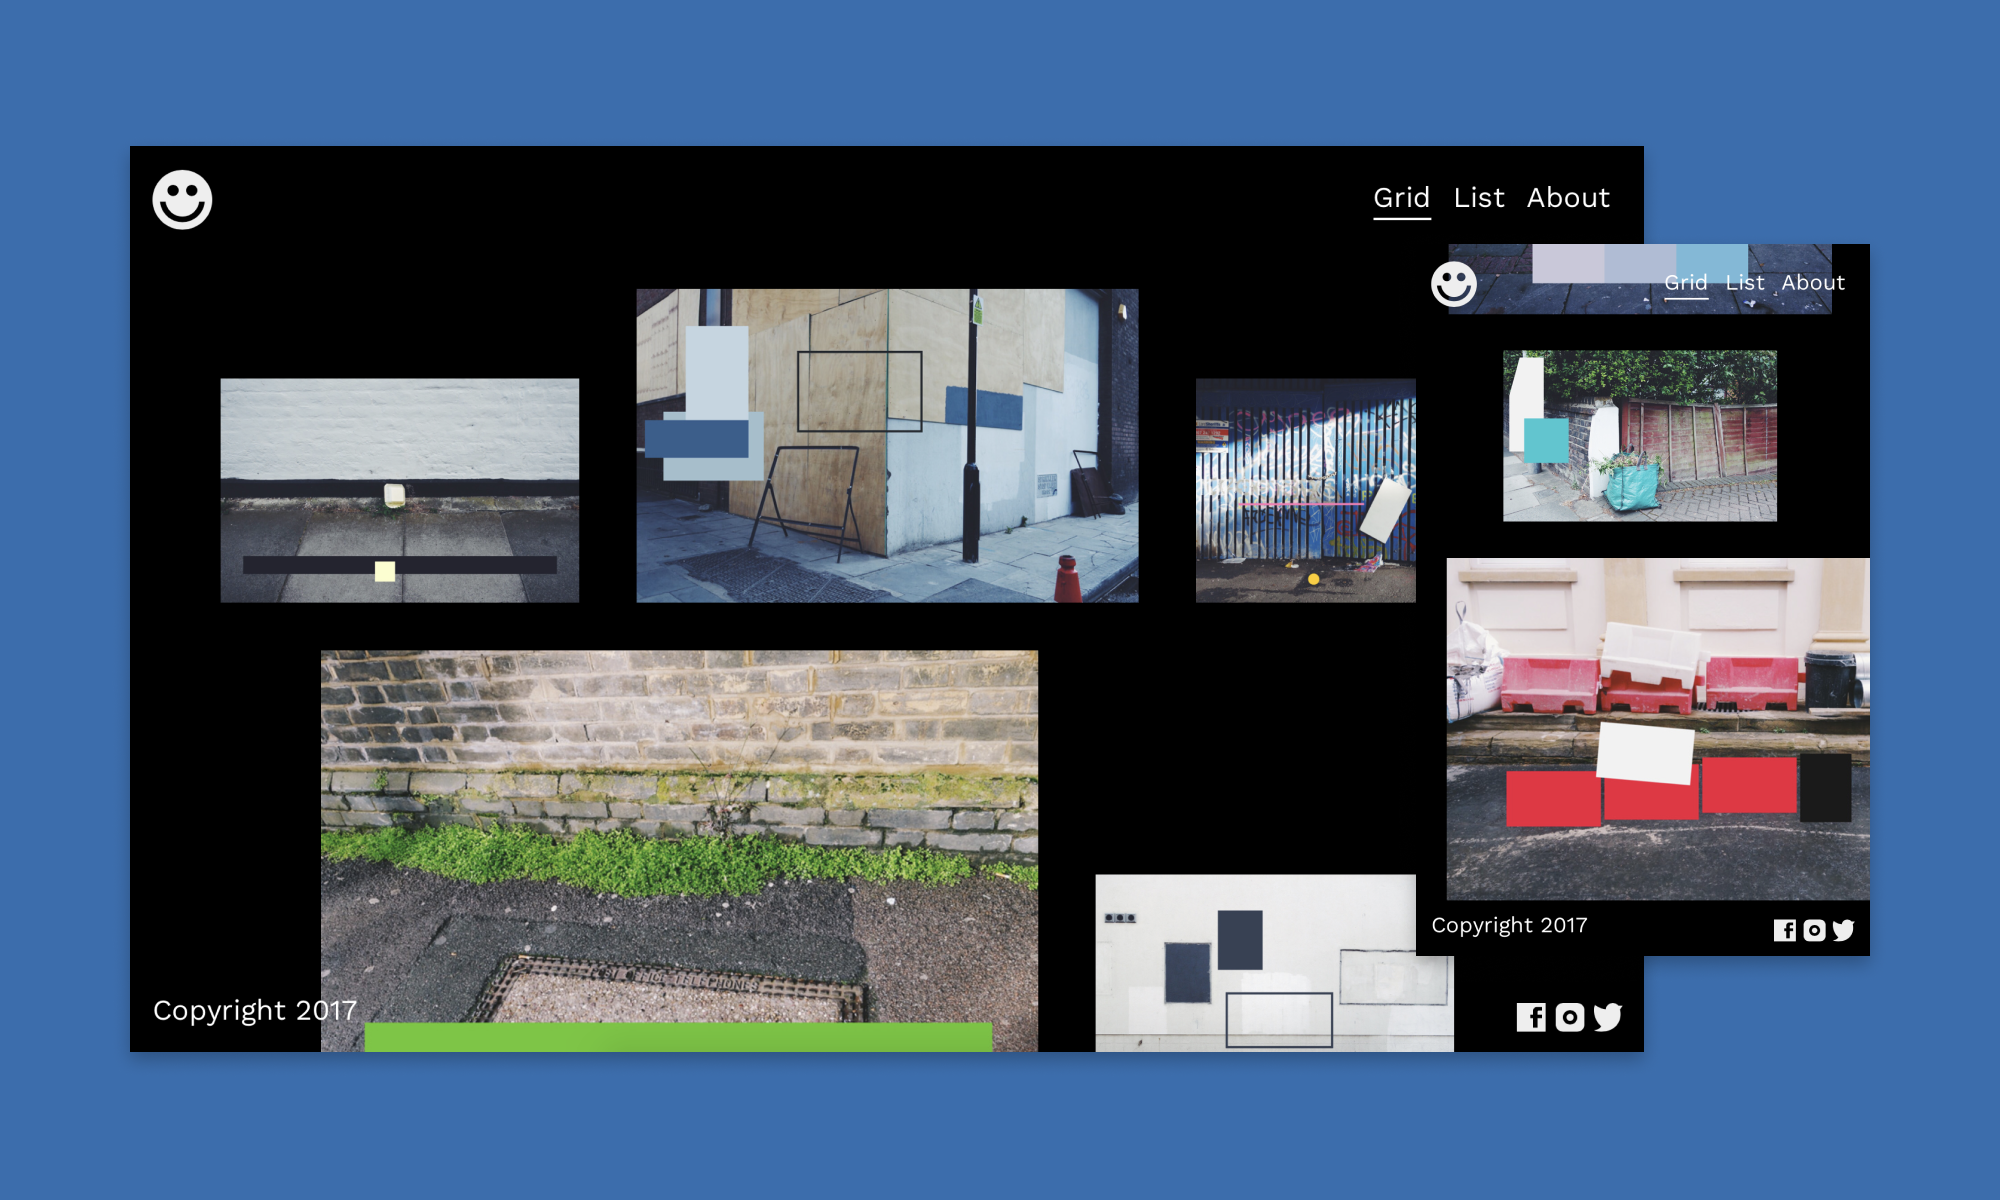
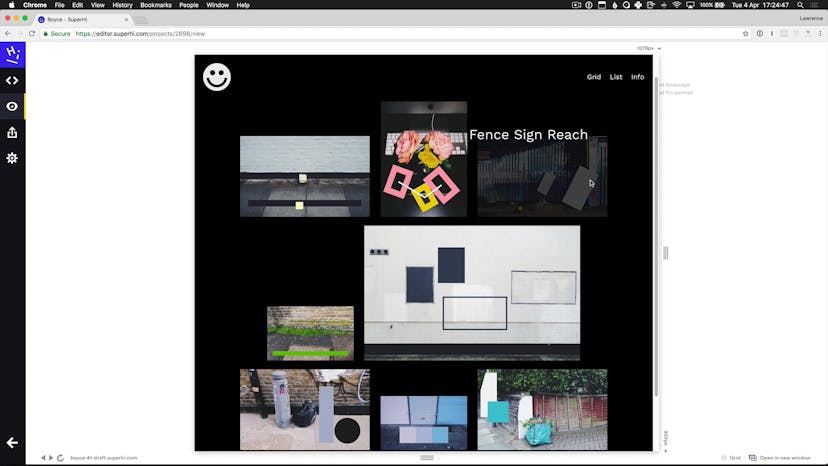
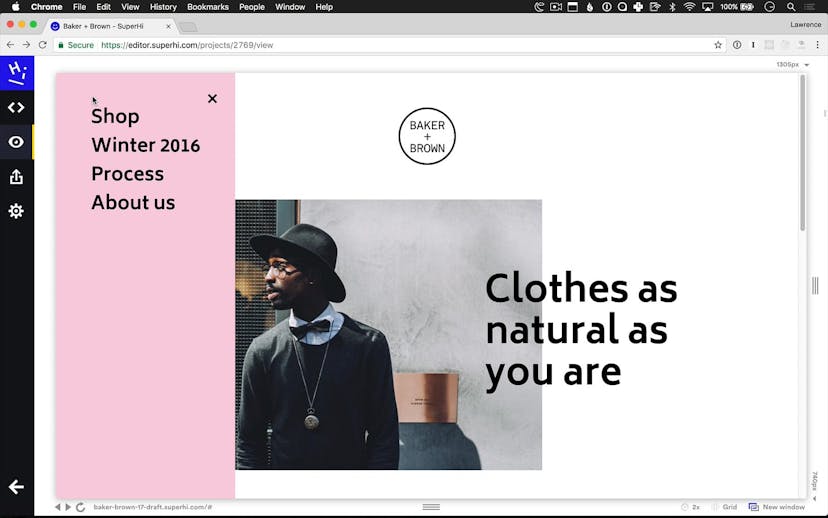
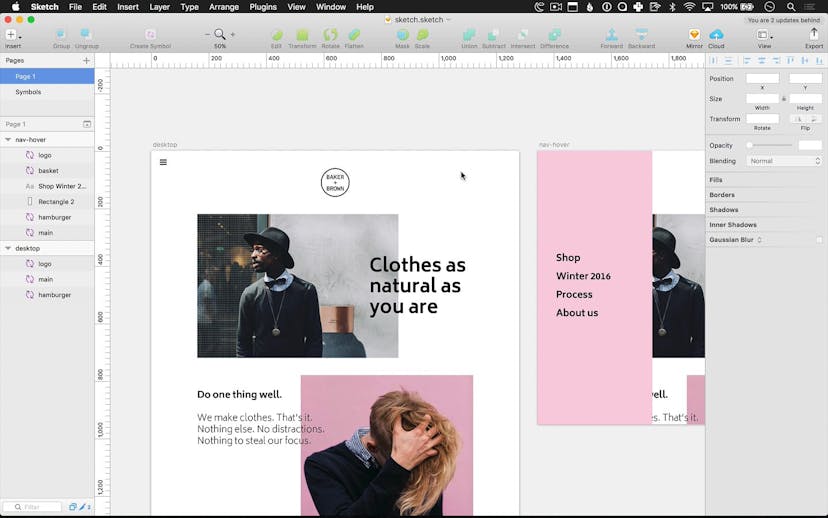
Lola’s Cookery School


Lesson 01
Project overview
Lesson 02
Initial HTML
Lesson 03
HTML continued and initial CSS
Lesson 04
Header position and active link style
Lesson 05
Introducing inline-block elements
Lesson 06
Varied element widths using classes
Lesson 07
Footer styles
Lesson 08
Header styles using flexbox
Lesson 09
Photo grid styles using flexbox
Lesson 10
Positioning elements using absolute position
Lesson 11
Changing element and color opacity
Lesson 12
Offset absolute position using negative values
Lesson 13
Smoothly transitioning CSS properties
Lesson 14
Changing element layer order using z-index
Lesson 15
Responsive tweaks using flexbox
Lesson 16
Hover transitions for navigation links
Lesson 17
Adding character to transitions using timings
Lesson 18
Grayscale image transitions using CSS filters
Lesson 19
Adding the list view page and initial HTML
Lesson 20
List view hover effect image styles
Lesson 21
Adding list separators using CSS content

Lesson 22
List image hover effect using transitions
Homework 01
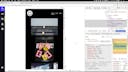
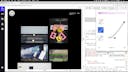
NASA


Lesson 01
Project overview
Lesson 02
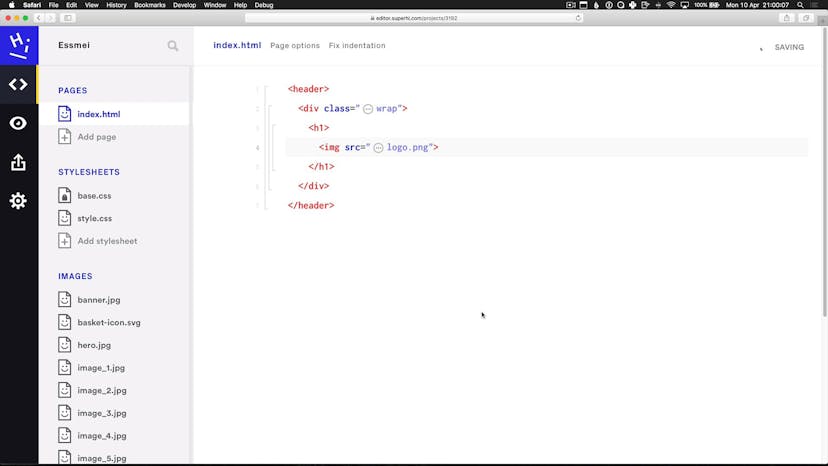
HTML structure using outer and inner containers
Lesson 03
Initial CSS and using 2x assets
Lesson 04
Hero background positioning and copy column
Lesson 05
Final navigation and products HTML

Lesson 06
Navigation and products style using flexbox
Lesson 07
Adding product overlay initial HTML and CSS
Lesson 08
Positioning the overlay using absolutes and rgba
Lesson 09
More playful hover effects using transition timings
Lesson 10
Initial breakpoint for tablet layout

Lesson 11
Responsive styles for tablet to mobile

Lesson 12
Mobile responsive styles
Lesson 13
Adding show filters link

Lesson 14
Using unordered list elements to style up the filters
Lesson 15
Final filter list style tweaks

Lesson 16
What is Javascript and jQuery?
Lesson 17
What types of data do we have in Javascript?

Lesson 18
Using the Chrome Javascript console

Lesson 19
Attaching our Javascript files to the page
Lesson 20
Showing and hiding content on the click event
Lesson 21
Building a navigation toggle using jQuery
Lesson 22
Getting attributes and using variables
Lesson 23
Using the this keyword in Javascript
Lesson 24
Filtering the products selection using jQuery

Lesson 25
Adding and removing the active link style
Lesson 26
Overriding CSS styles using !important

Homework 01
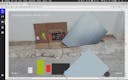
The Hexagons


Lesson 01
Project overview
Lesson 02
A quick look at the head and body tags
Lesson 03
Initial HTML

Lesson 04
Header and navigation slideout styles

Lesson 05
Vertically aligning navigation using transforms

Lesson 06
Overlaid offset text effect using absolutes
Lesson 07
HTML finishing touches
Lesson 08
Offset text overlay continued
Lesson 09
Final lookbook section CSS
Lesson 10
Silky smooth rotate and scale transforms

Lesson 11
Using translate, scale and multiple transitions on an element
Lesson 12
Hamburger icon positioning and z-index
Lesson 13
Toggling CSS classes and states using jQuery

Homework 01
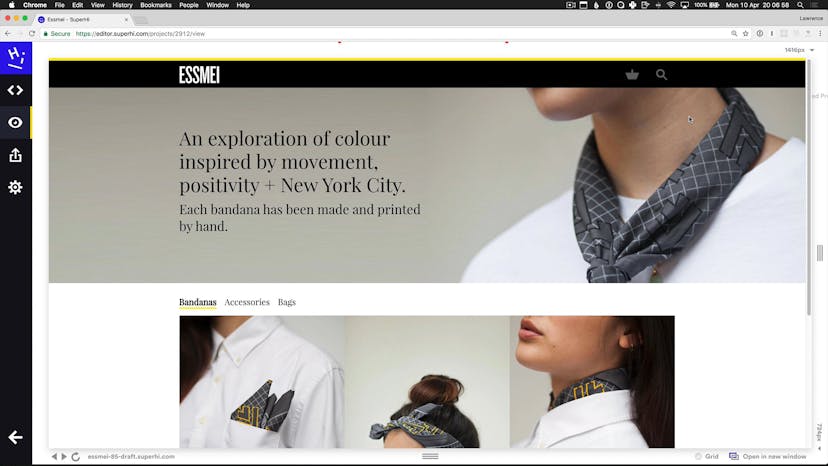
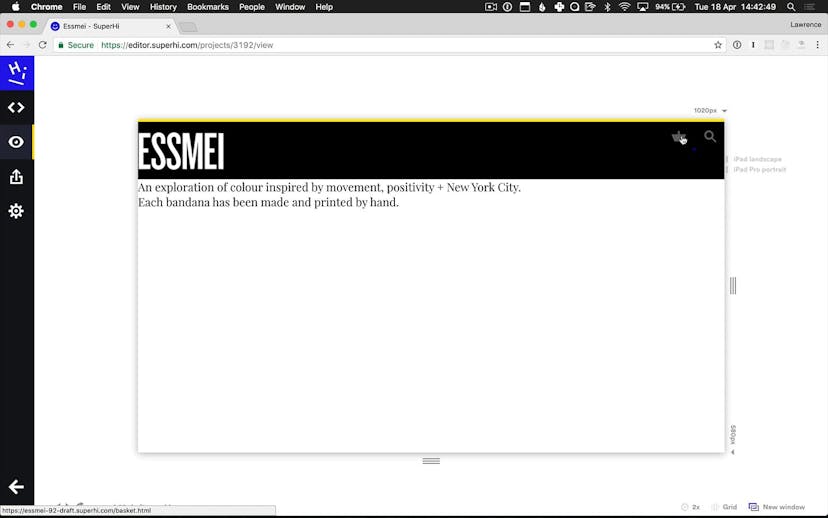
Valencia

Lesson 01
Project overview

Lesson 02
Project setup
Lesson 03
Modal overlay CSS
Lesson 04
Increasing clickable area and changing cursors
Lesson 05
Positioning modal content in the center
Lesson 06
Hiding the modal and adding script tags
Lesson 07
Showing our modal on click and blocking default link action
Lesson 08
Closing our modal using a separate function
Lesson 09
Getting and setting HTML and using the this keyword
Lesson 10
Using variables for setting the HTML
Lesson 11
Making the design responsive

Lesson 01
Project overview
Lesson 02
Project setup
Lesson 03
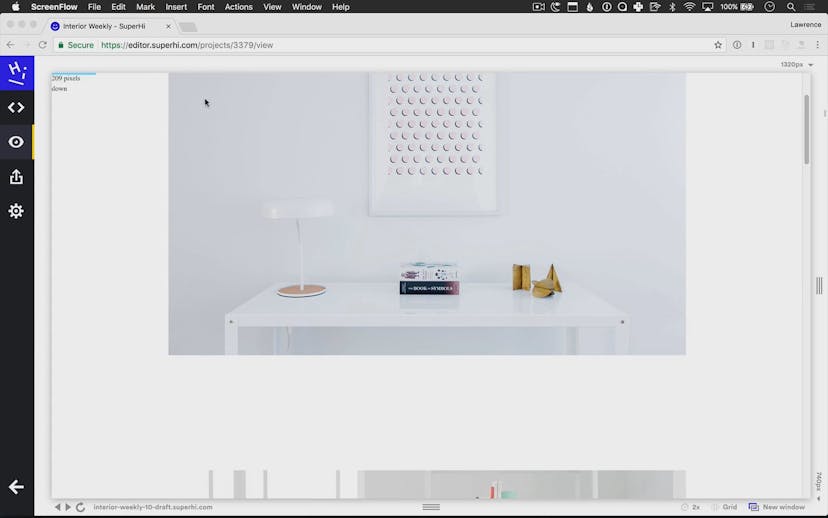
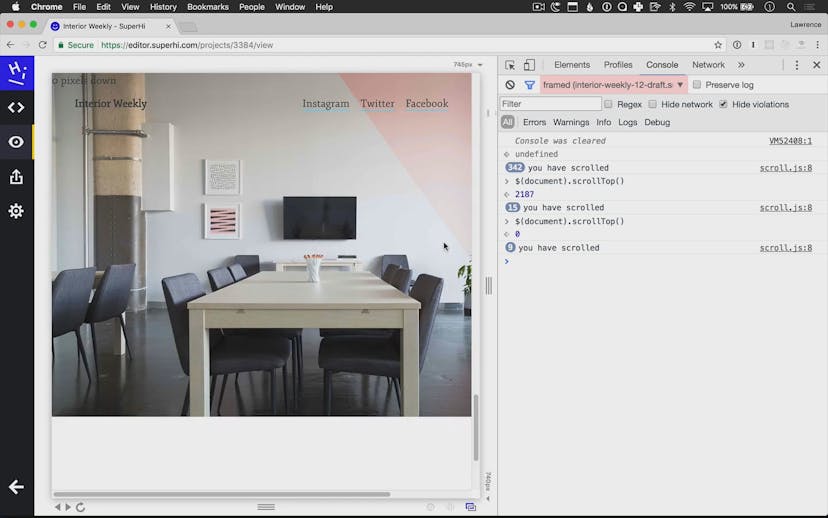
Building a scroll function that counts the pixels to top
Lesson 04
Hiding and showing the header on scroll
Lesson 05
Setting the background color on scroll using extended if/else statements
Lesson 06
Progress bar HTML and CSS
Lesson 07
Setting the bar CSS using jQuery

Lesson 08
Figuring out how far down the page we have scrolled
Lesson 09
Setting the bar width dynamically
Lesson 01
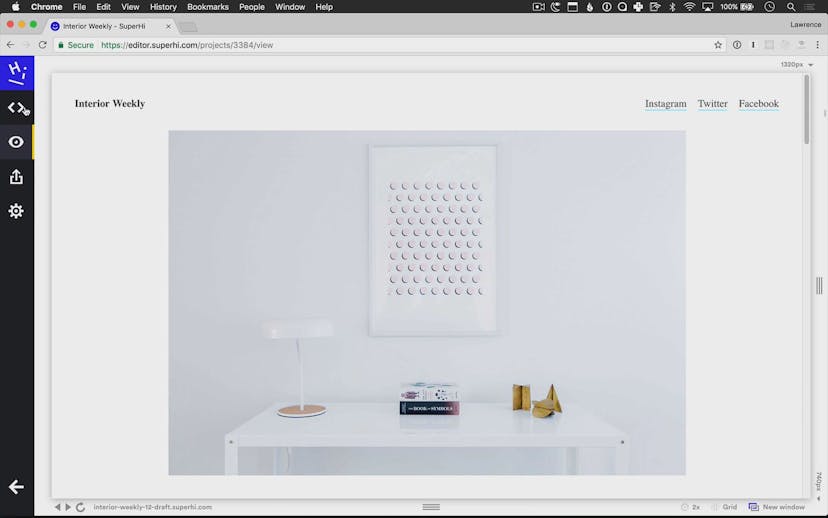
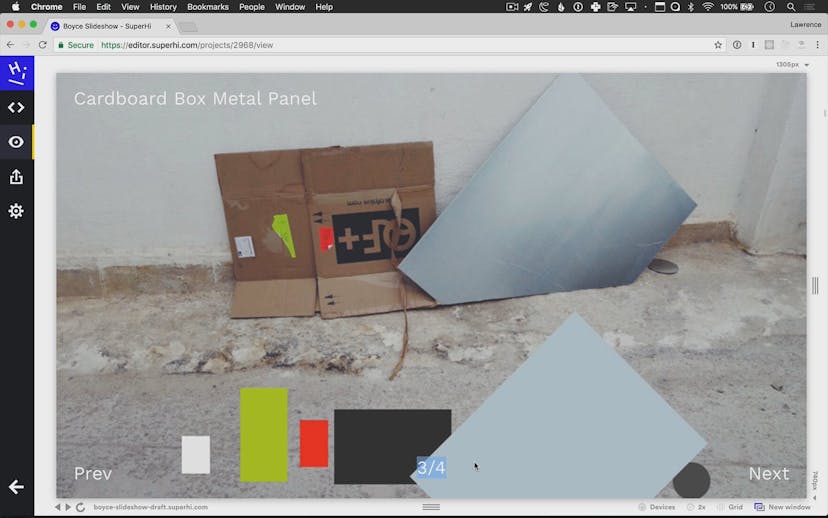
Project overview
Lesson 02
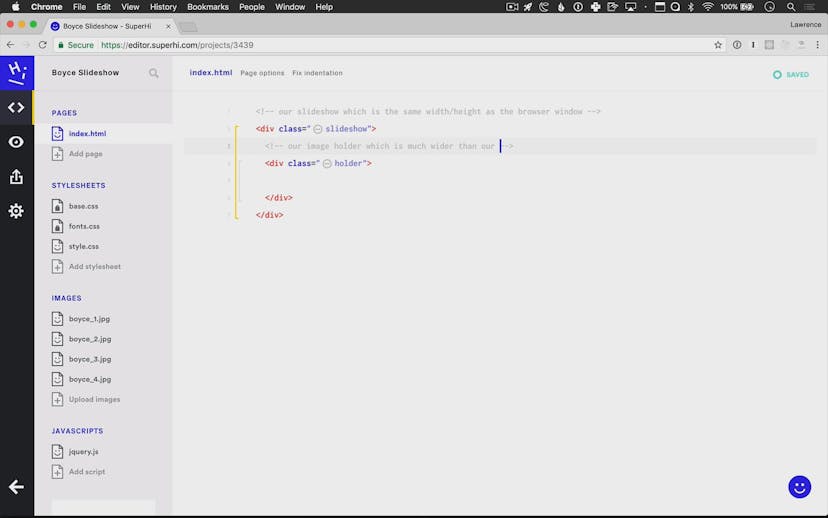
HTML structure

Lesson 03
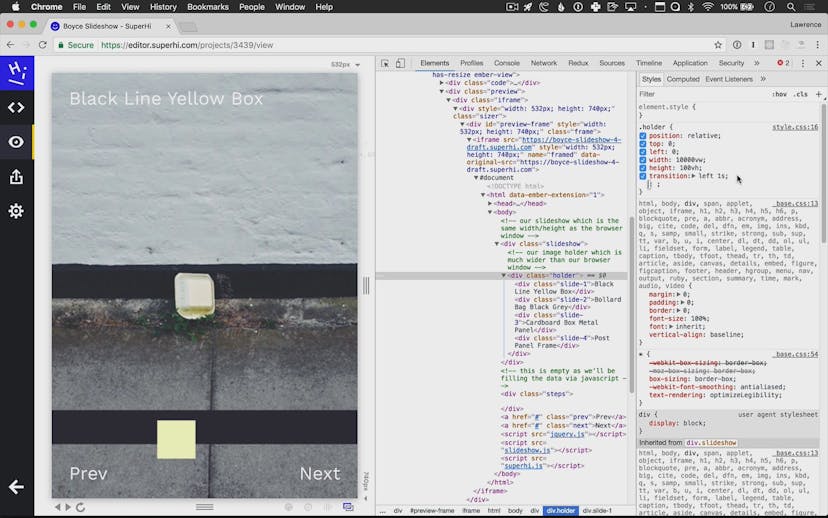
A look at the CSS
Lesson 04
What does overflow do?
Lesson 05
Initial transition using interval functions
Lesson 06
A little bit about arrays in Javascript

Lesson 07
Moving to the next slide dynamically

Lesson 08
Putting the slide functionality into separate functions
Lesson 09
Finding how many slides we have using .length
Lesson 10
Wiring up the prev/next buttons and cancelling intervals
Lesson 11
Setting the text for our current slide
Lesson 12
Making the slideshow loop through
Lesson 13
Passing data to functions using arguments
Lesson 14
Creating a function for moving the slide
Lesson 15
Making the arrow keys work for navigation
SuperHi students work at the best
Our students are based all over the world and work at creative companies large and small. Why not check out some of their work?
View student workFeeling stuck?
Don’t worry, we are here to help you with:
- Speedy help from one of our team members
- Detailed, relevant solutions
- Direct access to peer support through Discord!
Remember, there’s no such thing as a silly question, so don’t hesitate to reach out, we love hearing from you!