
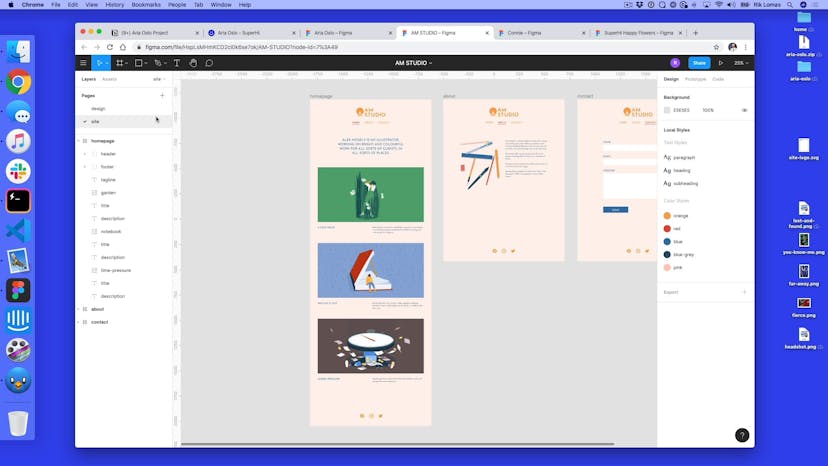
Plan, Design + Code Your First Website
Gain a whole range of new creative and digital skills so that you can design and build your first website from start to finish – all for free!

Taught by
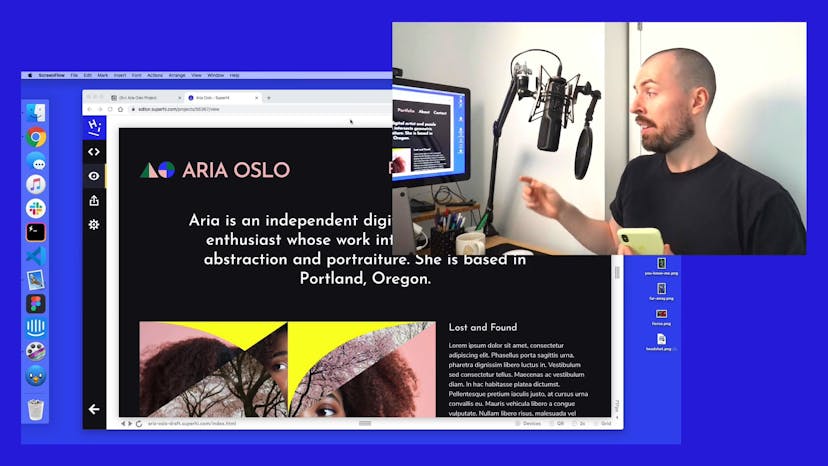
Rik Lomas


Get access to Plan, Design + Code Your First Website
- Practical, go-at-your-own pace learning, with help from our industry experts and experienced teachers
- Projects and code that you can alter and include in your own sites and portfolio
- Resources to get you started and going post-course
Your instructor

Rik Lomas
With support from...

Ana Wang
Course structure


Lesson 01
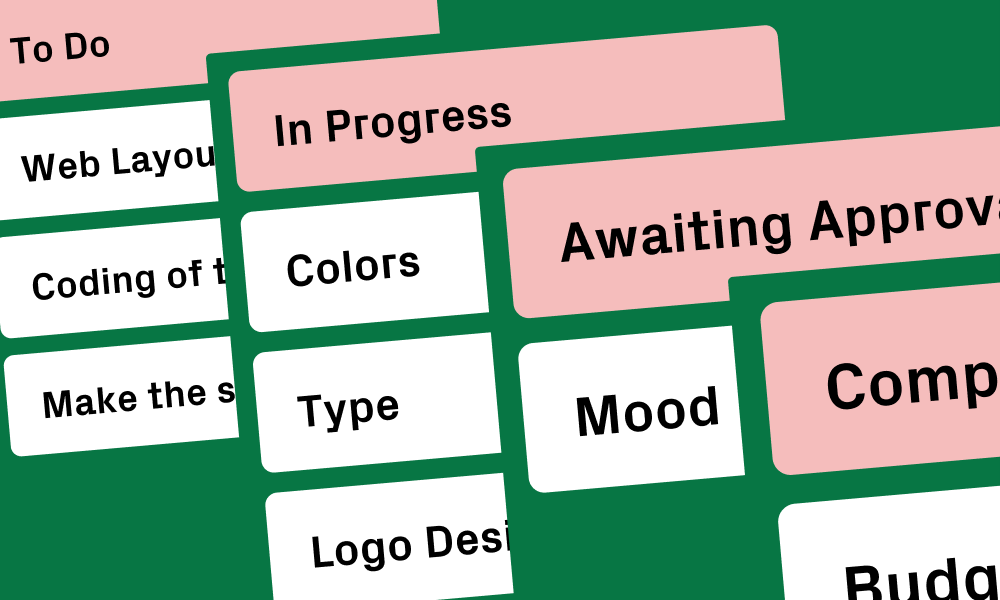
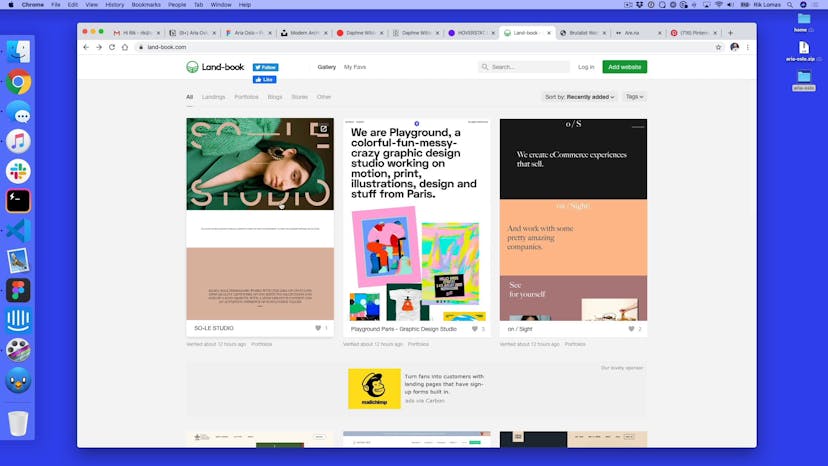
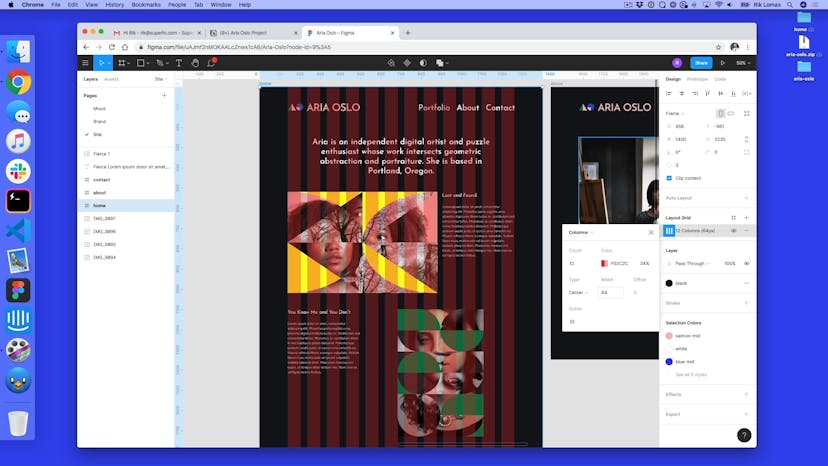
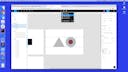
Let's start to design
Lesson 02
Moodboarding
Lesson 03
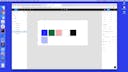
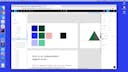
Color scheme
Lesson 04
Color tints
Lesson 05
Text treatment
Lesson 06
Picking typefaces
Lesson 07
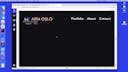
Creating a logomark
Lesson 08
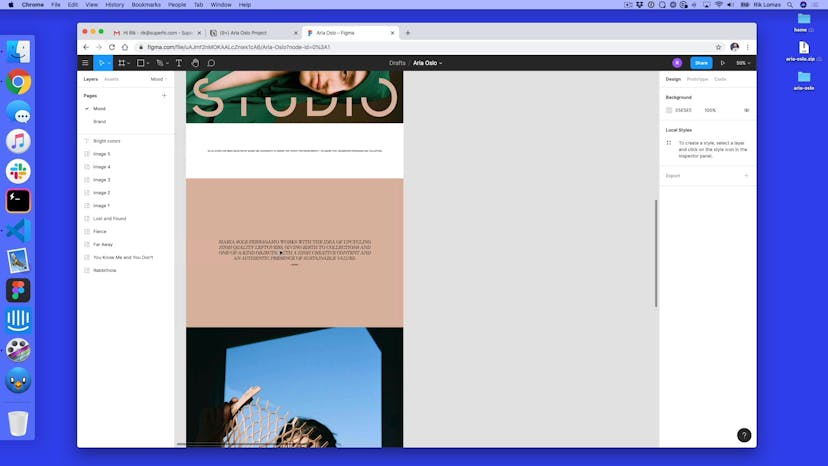
Color styles with Figma

Lesson 09
Adding a logotype
Lesson 10
Components in Figma
Lesson 11
Making text styles
Lesson 12
Site layout with grids
Lesson 13
Laying out our pages
Lesson 14
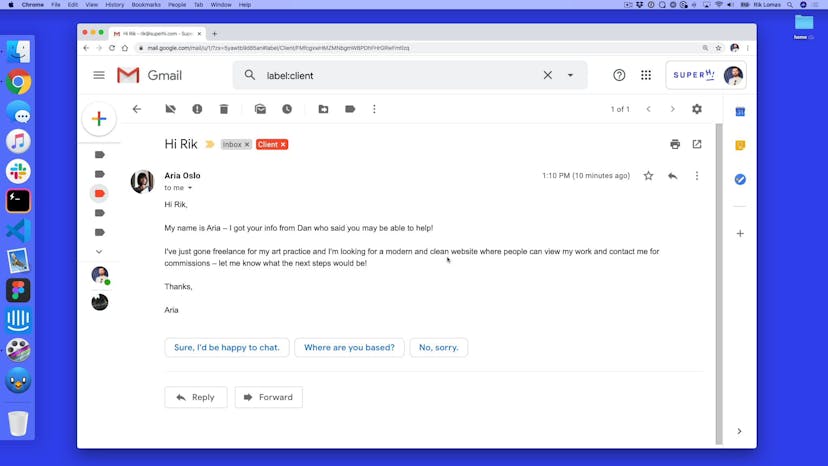
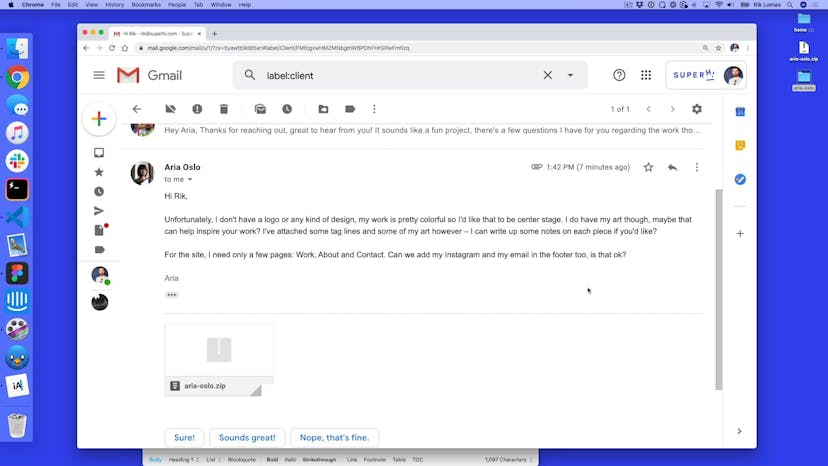
Client approval


Lesson 01
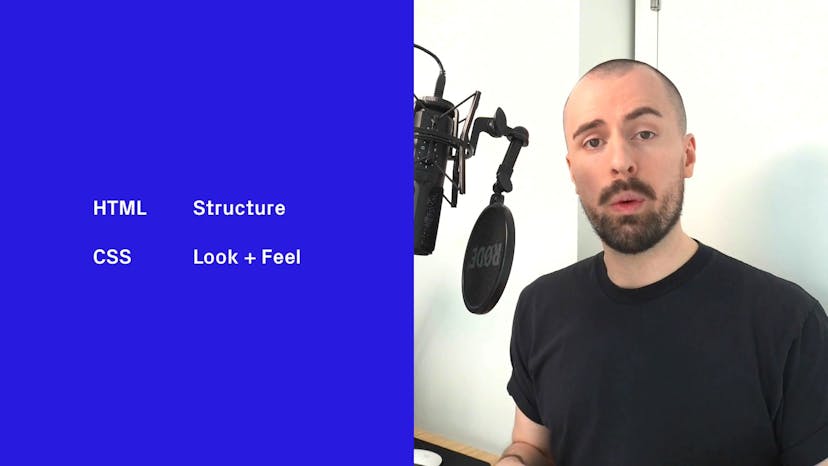
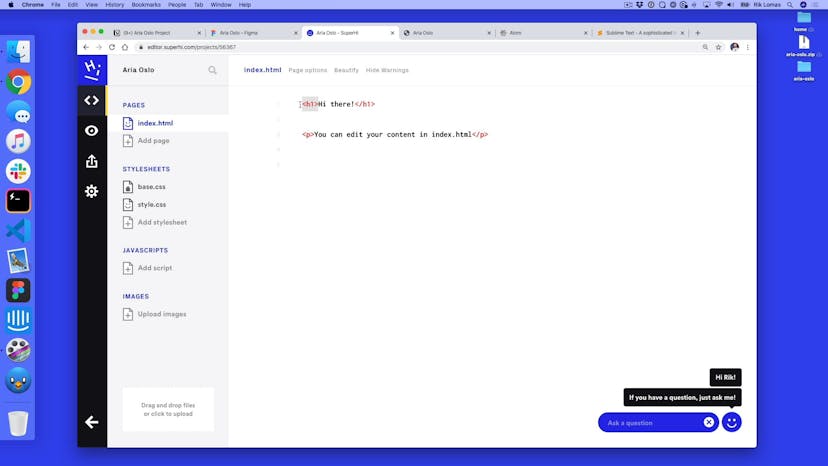
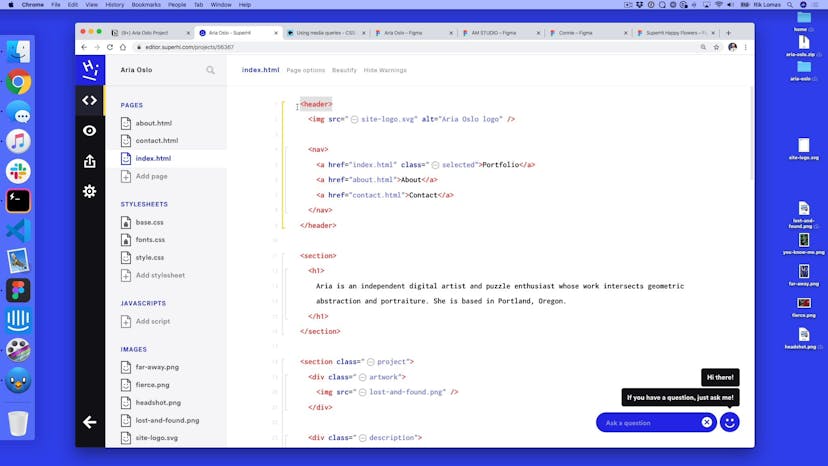
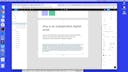
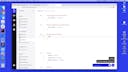
Now let's code!
Lesson 02
After approval changes

Lesson 03
The SuperHi Editor

Lesson 04
Basic tag setup
Lesson 05
Adding links
Lesson 06
Basic styling with CSS

Lesson 07
Styling links
Lesson 08
Hover states with CSS
Lesson 09
Margins and transitions
Lesson 10
Common stylings
Lesson 11
Exporting images as SVG from Figma
Lesson 12
Changing the layout's width
Lesson 13
Adding typography with Google Fonts
Lesson 14
Adding CSS flexbox to our header
Lesson 15
Styling our footer with CSS flexbox

Lesson 16
Adding CSS Grid to our tagline
Lesson 17
Adding project images to our portfolio

Lesson 18
Grouping text content

Lesson 19
Molding our layout
Lesson 20
Creating an about page
Lesson 21
Contact page and selected navigation styles

Lesson 22
Let's publish and sent to the client!

Lesson 01
Let's dig in!
Lesson 02
What do we need to fix

Lesson 03
Adding our first media query
Lesson 04
Adding our desktop layout
Lesson 05
Adding a second style to our media query

Lesson 06
Fixing the header layout

Lesson 07
Fixing the grid
Lesson 08
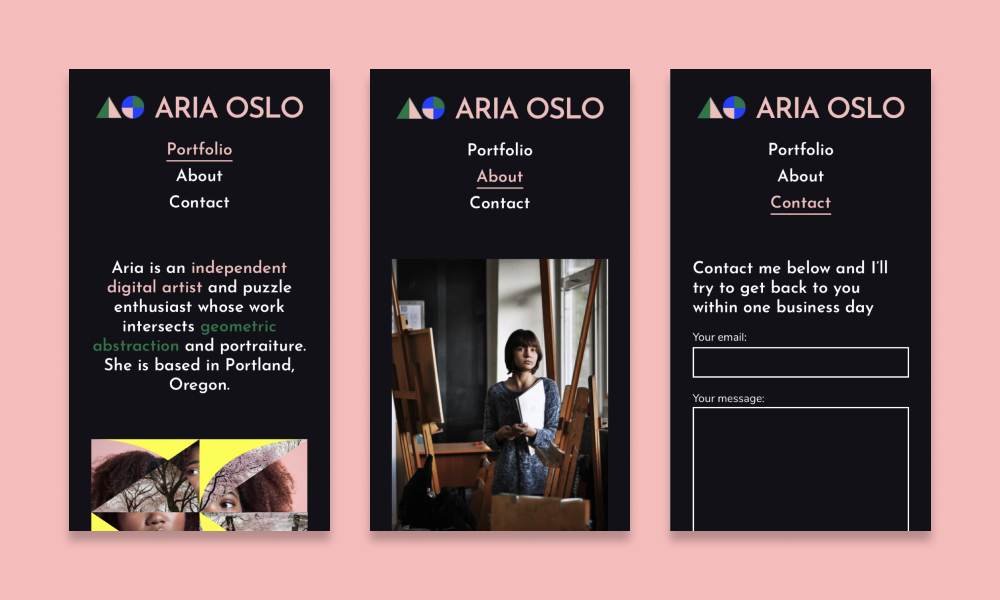
Fixing our header for mobile
Lesson 09
Testing on our phone
Lesson 10
Adding a contact form

Lesson 11
What variations can we add?
Lesson 12
Variation 1: text underlines in navigation

Lesson 13
Variation 2: Alice's layout
Lesson 14
Variation 3: social images in footer
Lesson 15
Variation 4: highlighted words in text
Lesson 16
Variation 5: Jaclyn's grid layout
Lesson 17
Variation 6: GIFs and videos

Lesson 18
Variation 7: border radius
Lesson 19
Variation 8: background gradients and images
Lesson 20
Variation 9: linking to projects

Lesson 21
Setting up our domain
Lesson 22
Social images and optimizing for search

Lesson 23
Thanks for taking our course!
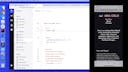
SuperHi students work at the best
Our students are based all over the world and work at creative companies large and small. Why not check out some of their work?
View student workFeeling stuck?
Don’t worry, we are here to help you with:
- Speedy help from one of our team members
- Detailed, relevant solutions
- Direct access to peer support through Discord!
Remember, there’s no such thing as a silly question, so don’t hesitate to reach out, we love hearing from you!