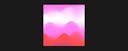
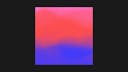
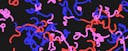
Generative Art With TouchDesigner
A beginner-friendly course, containing 12 hours of content for budding digital artists

Taught by
Rik Lomas


Get access to Generative Art With TouchDesigner
- Practical, go-at-your-own pace learning, with help from our industry experts and experienced teachers
- Projects and code that you can alter and include in your own sites and portfolio
- Resources to get you started and going post-course
Your instructor

Rik Lomas
With support from...
Arianna Ninh
John Schulisch
Kali Block-Steele
Course structure


Lesson 01
Welcome to the course

Lesson 02
What options are there when making generative art?
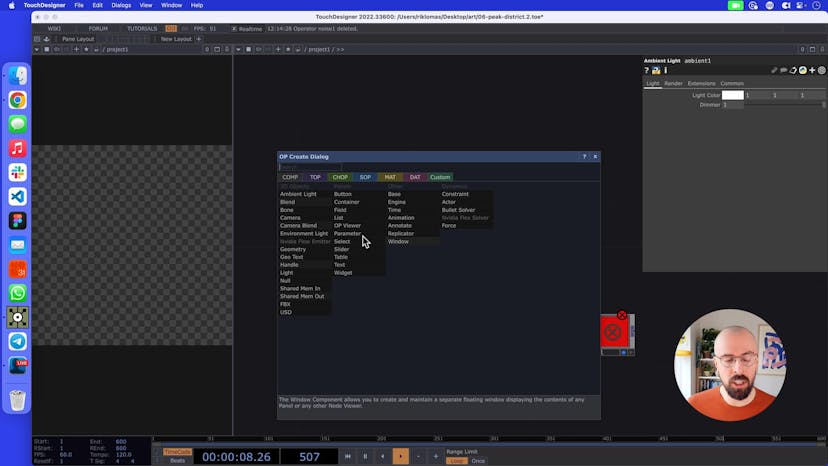
Lesson 03
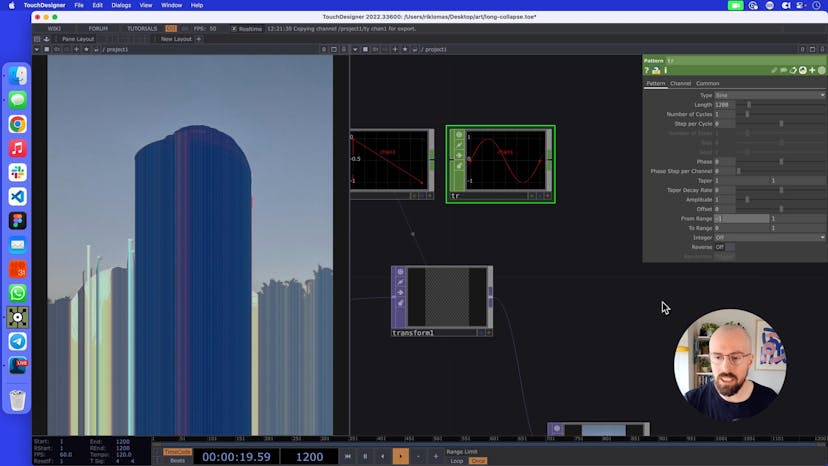
What is the network graph in TouchDesigner?
Lesson 04
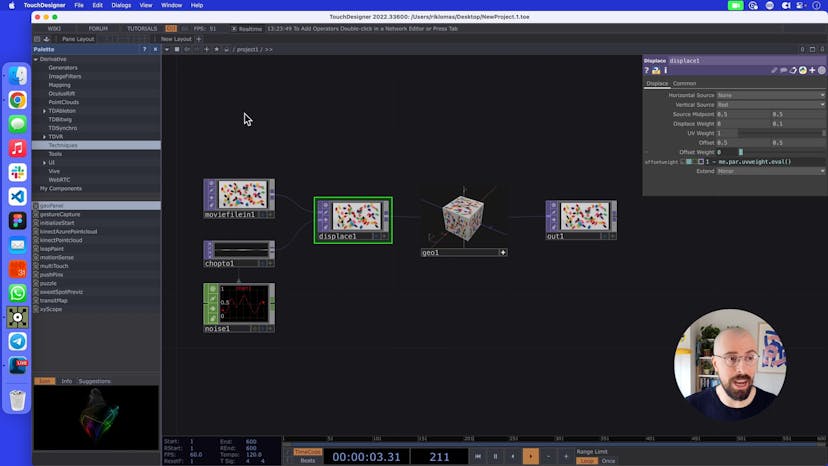
Setting up a layout in TouchDesigner
Lesson 05
Adding displacement to a texture

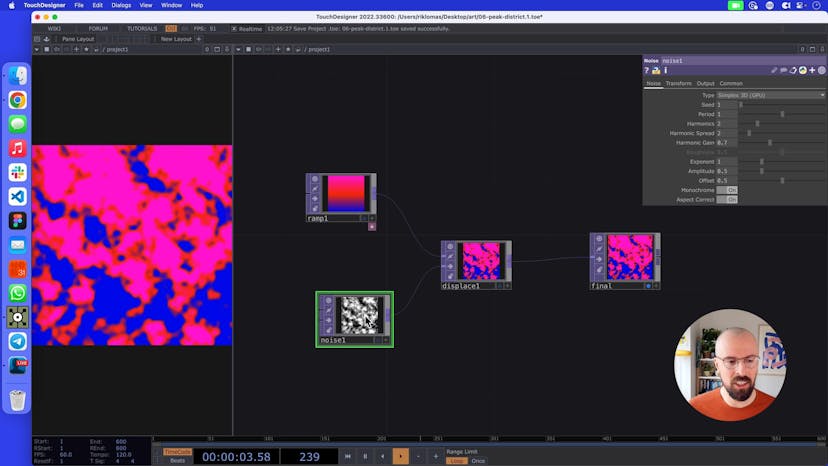
Lesson 06
Playing around with noise and displacement
Lesson 07
Animating noise with absTime.seconds
Lesson 08
Matching texture resolutions
Lesson 09
Adding a double displacement effect
Lesson 10
Creating a feedback loop
Lesson 11
Changing displacement's extend mode and source midpoint
Lesson 12
Fitting images and adding a border to textures
Lesson 13
Exporting your work as images and movies

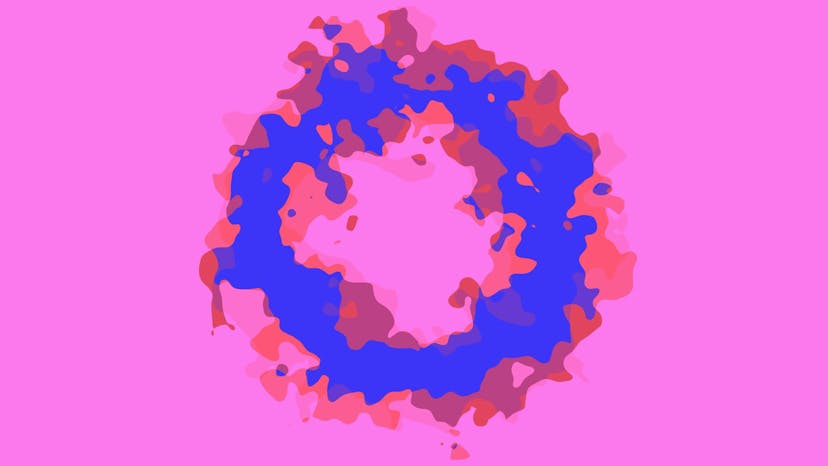
Lesson 01
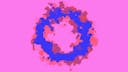
Welcome to Circle of Fifths
Lesson 02
Setting up Circle of Fifths
Lesson 03
Creating new shapes using TOPs
Lesson 04
Blending using the Composite TOP
Lesson 05
How to alter color channels with Channel Mix
Lesson 06
Displacement individual color channels with noise
Lesson 07
Rounding noise with a Limit TOP
Lesson 08
Applying a color scheme with a Lookup TOP and Ramp gradient TOP
Lesson 09
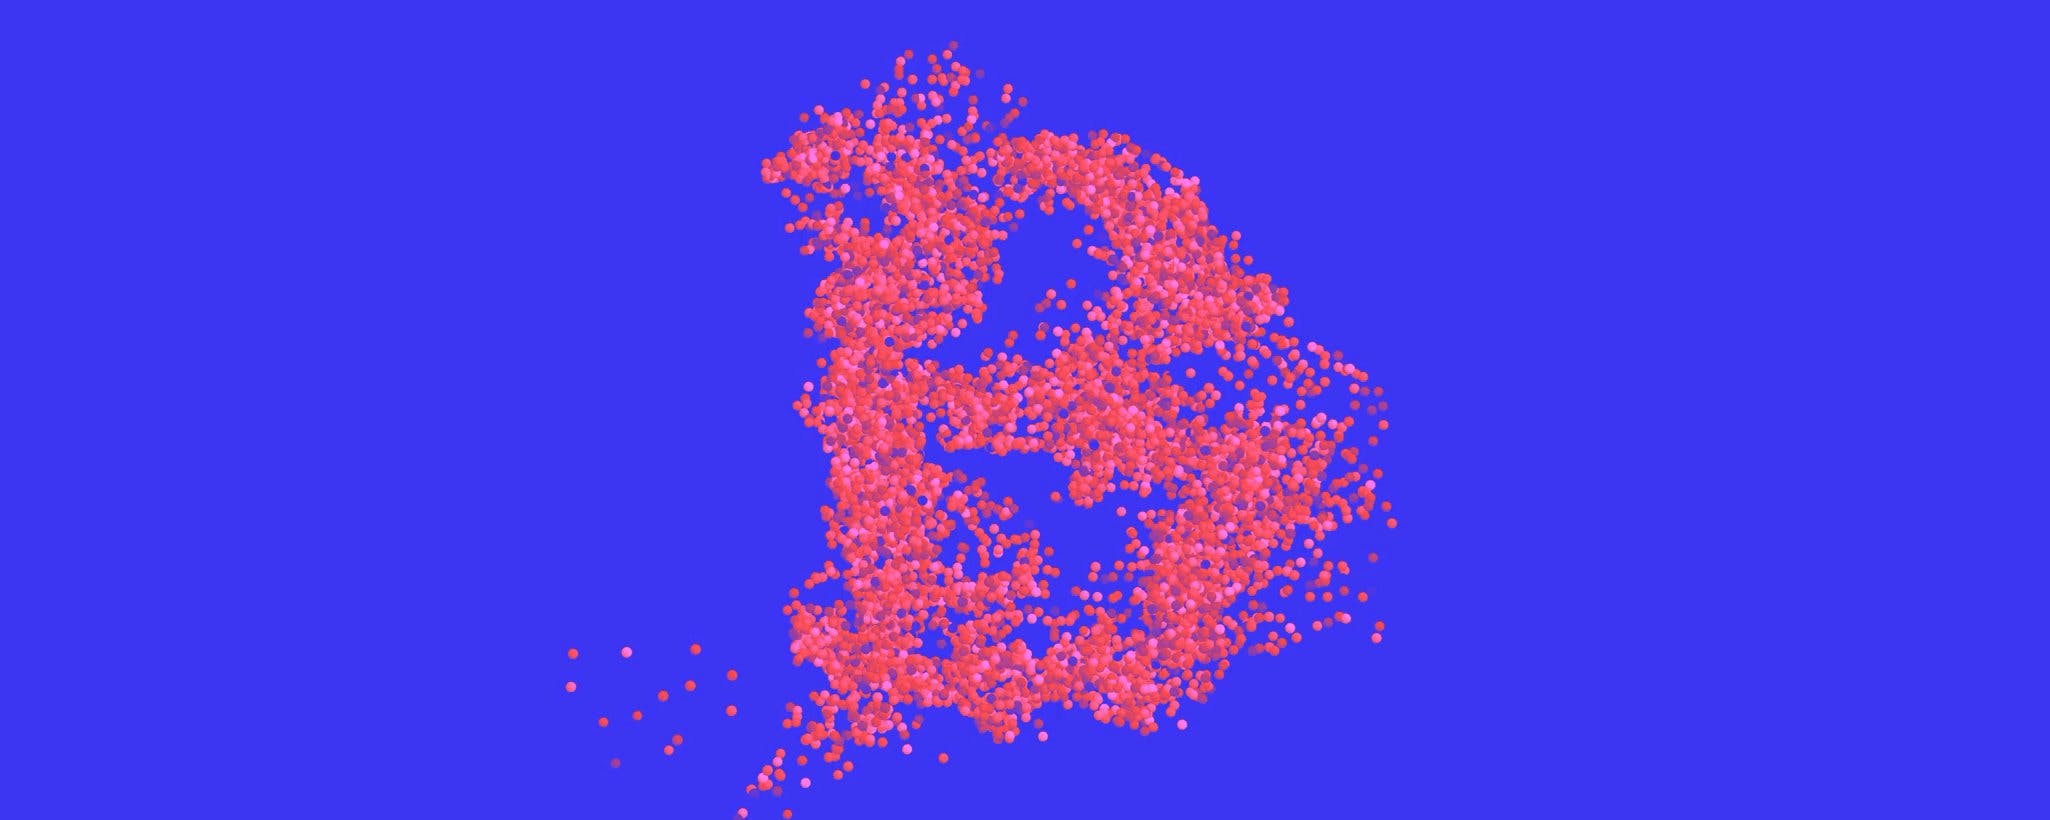
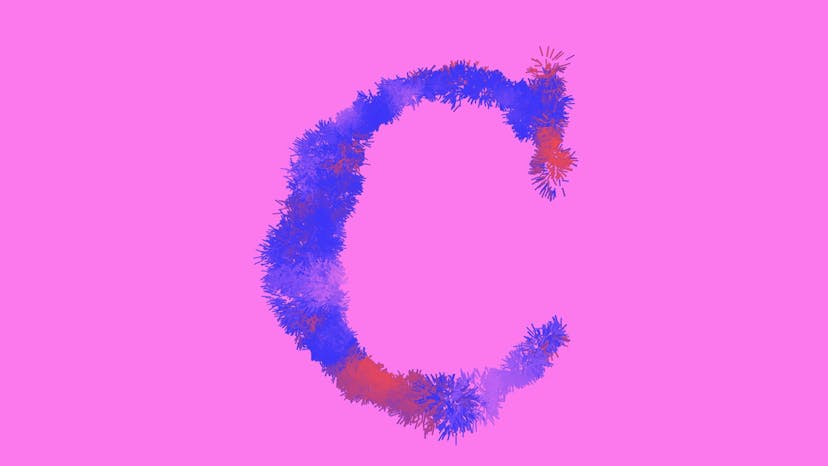
Variation 1: Letter A
Lesson 10
Adding a CHOP for controlling border width
Lesson 11
Using CHOPs to control displacement weighting
Lesson 12
Variation 2: Slit scan
Lesson 13
Variation 3: Adding textural noise

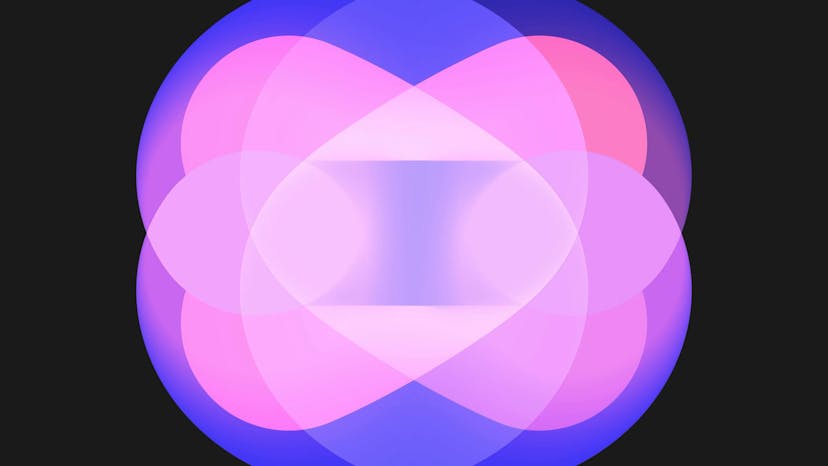
Lesson 01
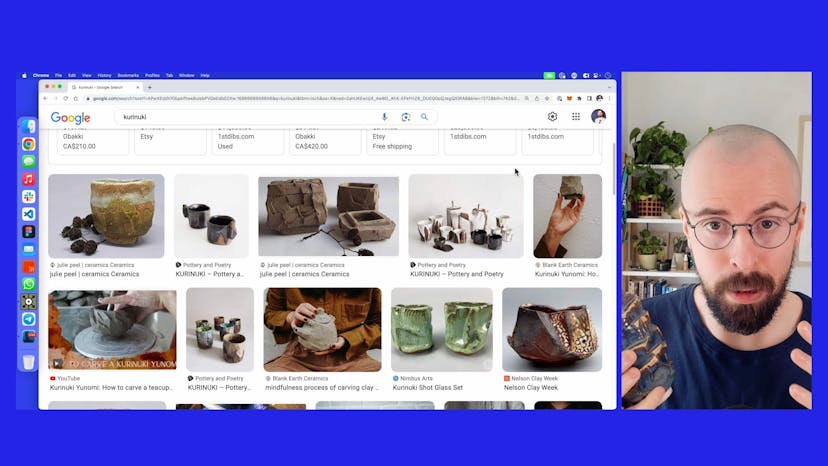
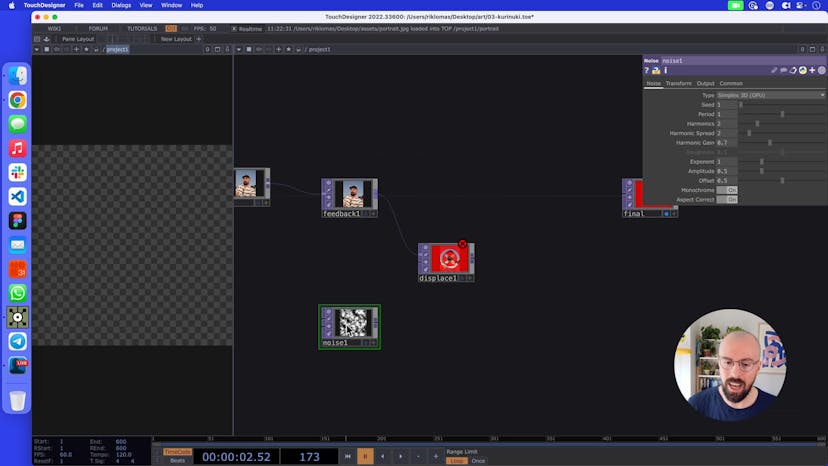
Welcome to Kurinuki

Lesson 02
What is Kurinuki anyway?
Lesson 03
Setting up the project
Lesson 04
Resetting the feedback loop with a Keyboard In CHOP
Lesson 05
Making a blocky displacement effect using Limit TOP
Lesson 06
Switching to the Nearest Pixel setting
Lesson 07
Compositing three noises together to get more defined textures
Lesson 08
Adding rotation to noise patterns
Lesson 09
Adding a Pattern CHOP to control displacement
Lesson 10
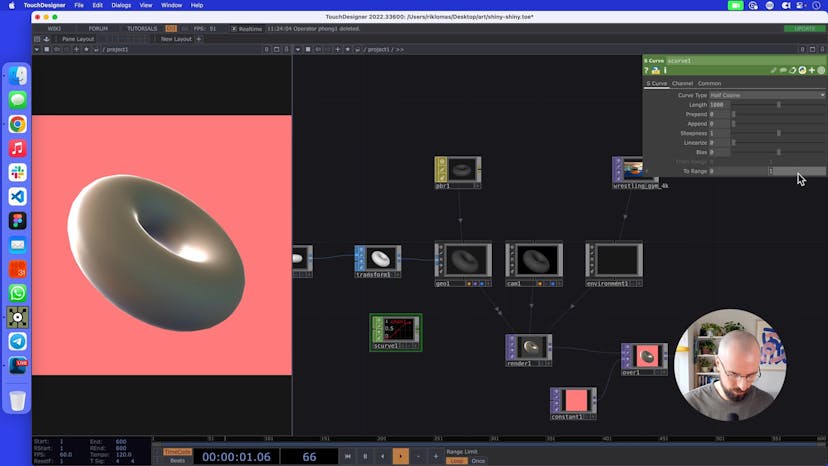
Using an S Curve CHOP to control displacement
Lesson 11
Variation: Using a Ramp TOP as a starting texture
Lesson 12
Adding a border to our artwork


Lesson 01
Welcome to Vapor Trail
Lesson 02
Circle moving in a circle
Lesson 03
Changing the path and radius of the circle using CHOPs
Lesson 04
How to alter color channels with Pattern CHOPs
Lesson 05
Picking a color from a Ramp TOP using CHOPs

Lesson 06
Adding a feedback loop to get a trail
Lesson 07
Adding a keyboard shortcut to reset the feedback loop
Lesson 08
Adding a transform TOP to create movement
Lesson 09
Adding a blur effect
Lesson 10
Adding a smoke effect using Displace and Noise TOPs
Lesson 11
Applying a background
Lesson 12
Variation 1: Flip and composite
Lesson 13
Variation 2: HSV Adjust

Lesson 14
Further directions


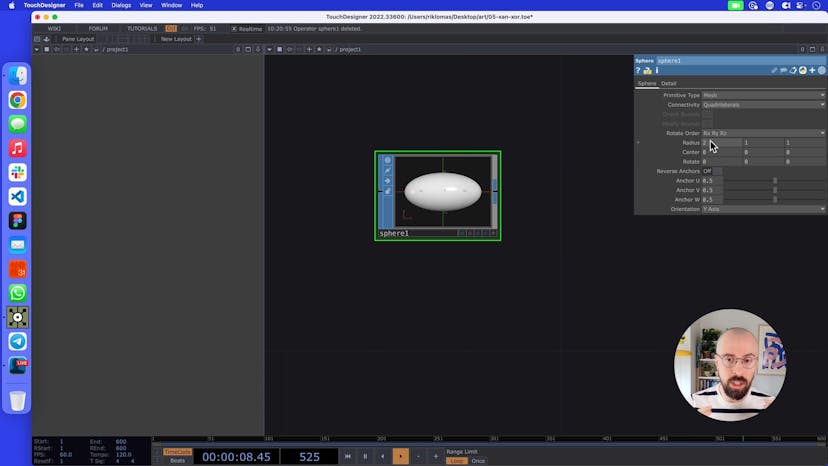
Lesson 01
Welcome to Xan / Xor
Lesson 02
What exactly is a SOP?
Lesson 03
How to convert 3D shapes into a 2D texture
Lesson 04
Adding extra shapes into the workspace
Lesson 05
Adding your own 3D objects
Lesson 06
Using a Switch operator to control shapes and rotation
Lesson 07
Adding a material and lighting to our shapes
Lesson 08
Adding colors using Ramp and Lookup TOPs
Lesson 09
Adding noise to our render to give texture
Lesson 10
Controlling switches with a Beat CHOP
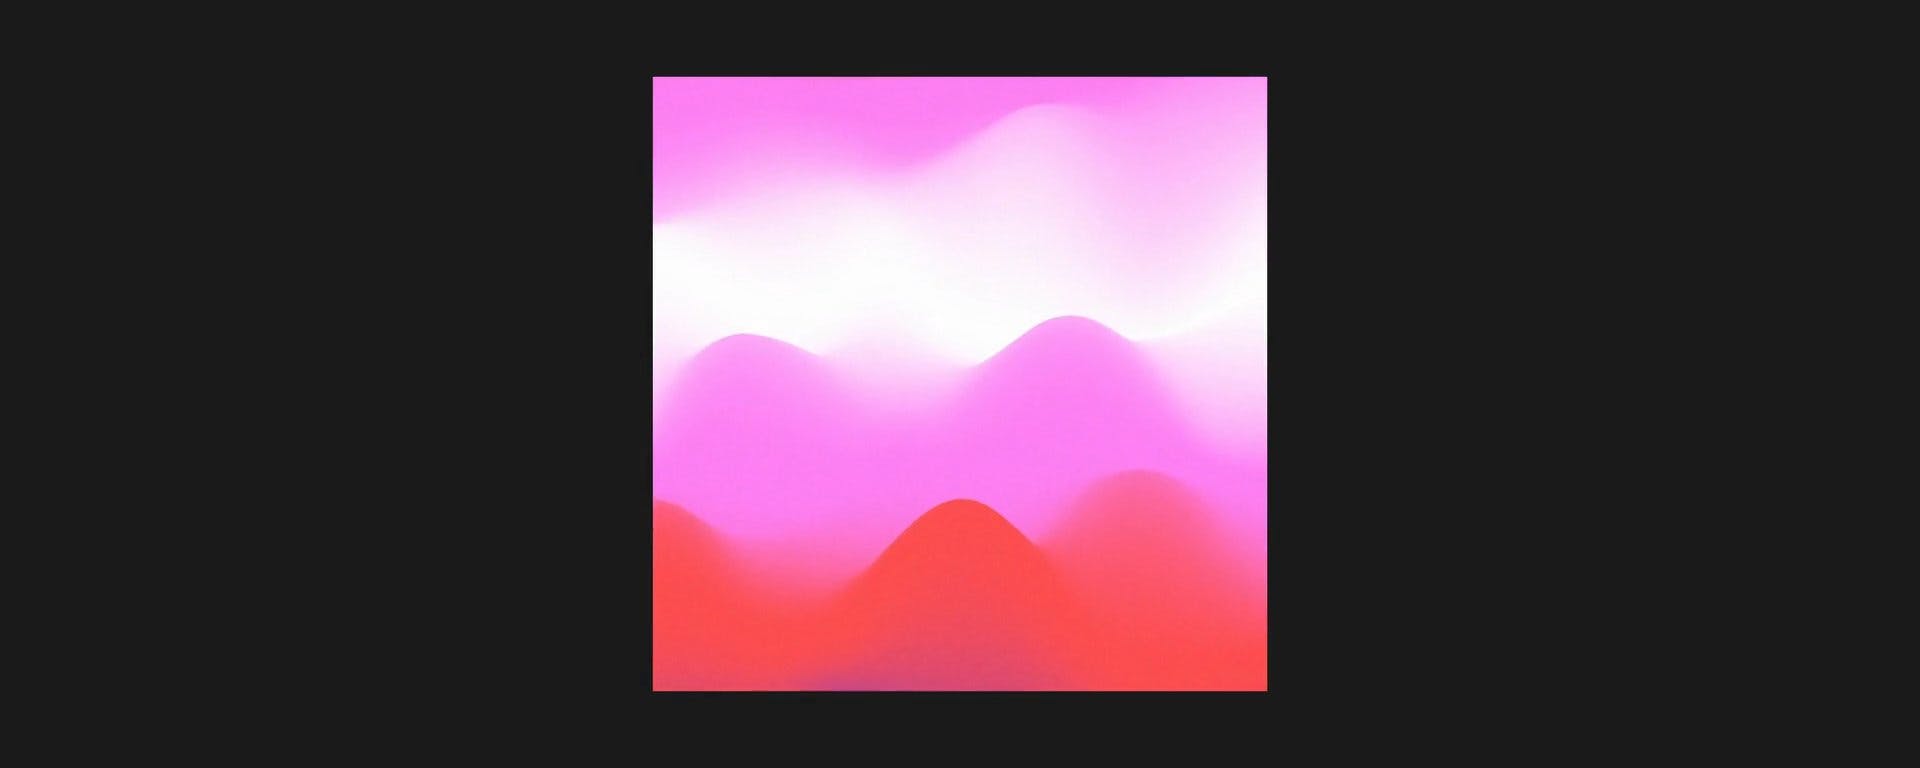
Lesson 01
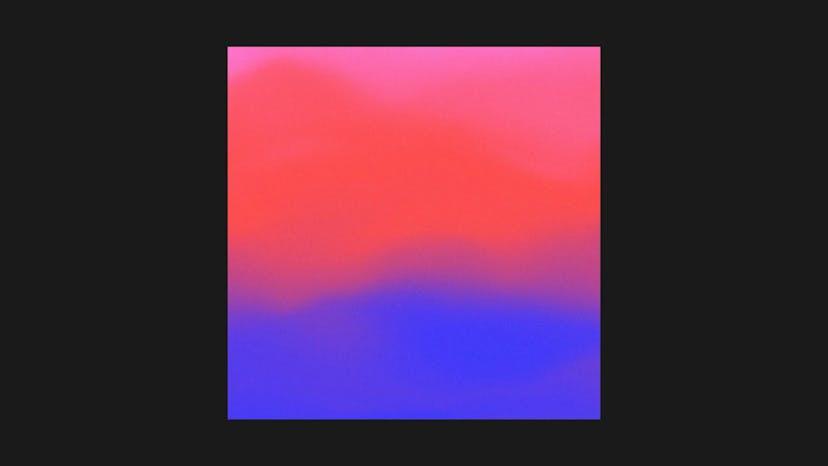
Welcome to Peak District
Lesson 02
The quick and dirty version: 2D only
Lesson 03
Setting up a 3D environment
Lesson 04
Applying a color map to a material
Lesson 05
Looking down the grid
Lesson 06
Adding a CHOP to control gradients

Lesson 07
Perspective and Orthographic cameras
Lesson 08
Playing with noise
Lesson 09
Adding textural noise and a border
Lesson 10
Variation: Adding displacement to the color map


Lesson 01
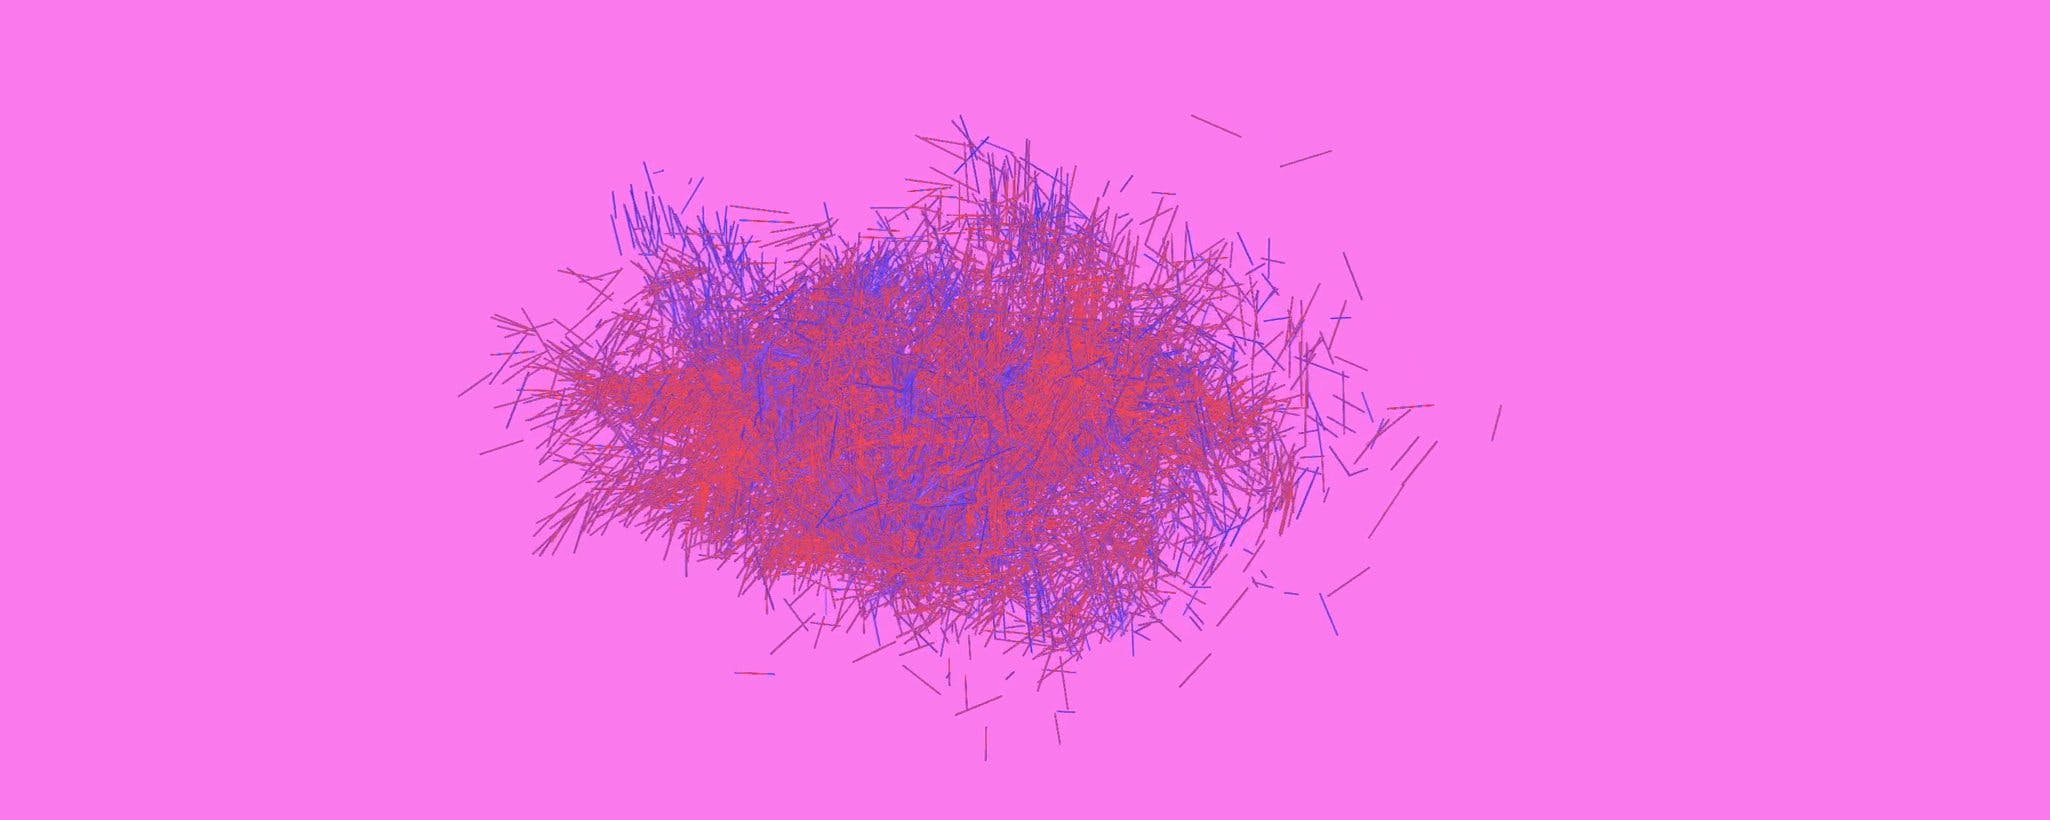
Welcome to Negative Space
Lesson 02
Setting up a 3D to 2D environment
Lesson 03
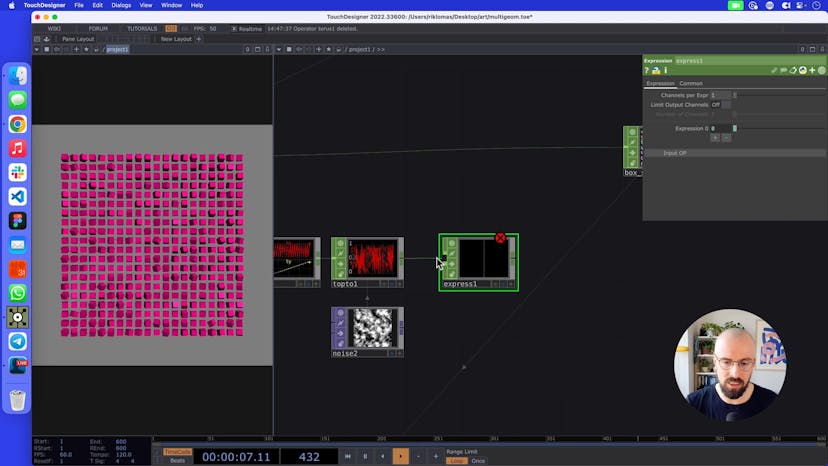
What is instancing?
Lesson 04
Using a Sprinkle SOP to randomly assign points
Lesson 05
Adding a rotation to every box with a normal vector

Lesson 06
Adding noise to the position of each point
Lesson 07
Adding a color noise
Lesson 08
Adding animation to our noise pattern
Lesson 09
Using S Curves to animate
Lesson 10
Adding Lookup, Ramp and Noise TOPs

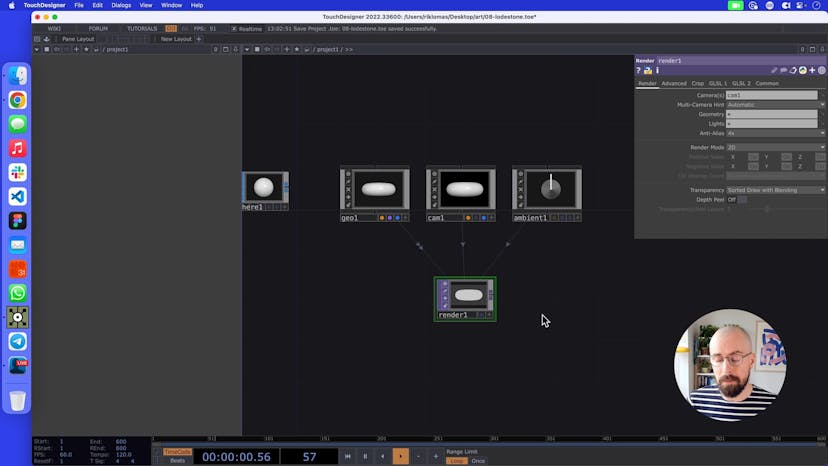
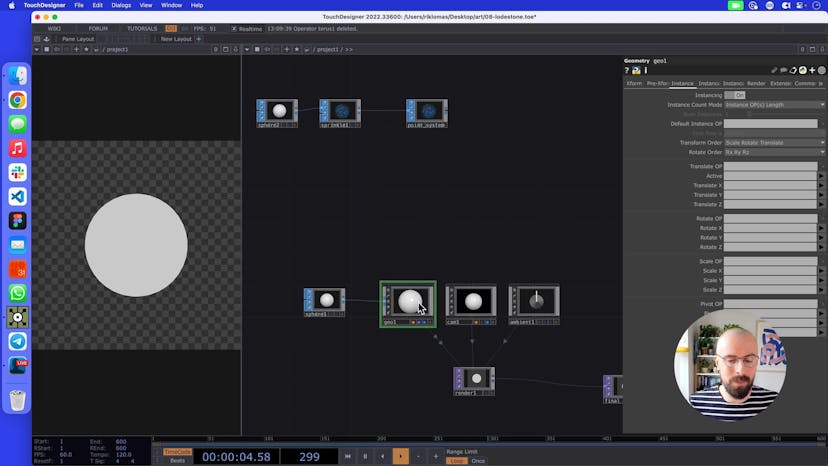
Lesson 01
Welcome to Lodestone
Lesson 02
Adding a 3D to 2D render
Lesson 03
Copy and pasting our geometry using instancing
Lesson 04
Making a particle system
Lesson 05
Adding Noise CHOPs to control turbulence
Lesson 06
Adding a Keyboard In CHOP to reset particles
Lesson 07
Using velocity to rotate shapes
Lesson 08
Adding a surface attractor
Lesson 09
Rotating the whole geometry
Lesson 10
Adding a material and ramp
Lesson 11
Adding blur and displacement
Lesson 12
Variation: Depth maps
Lesson 13
Variation: Shape changes


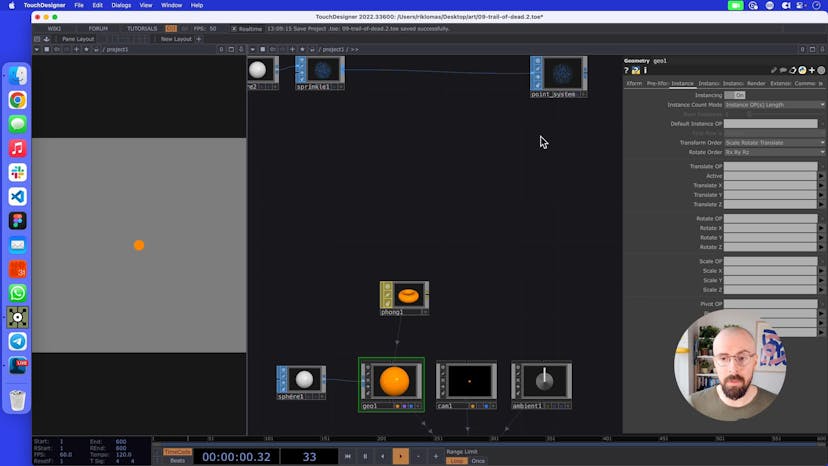
Lesson 01
Welcome to Trail of Dead
Lesson 02
Setting up our 3D to 2D pipeline
Lesson 03
Making a point system using instancing
Lesson 04
Particles vs Points
Lesson 05
Adding CHOPs to control turbulence
Lesson 06
Adding a random color to each point
Lesson 07
Adding a feedback loop to get a trail
Lesson 08
What is deconstruction?
Lesson 09
Adding a CHOP system
Lesson 10
Adding color using a Ramp TOP

Lesson 11
Variation: Adding a scale based on a Ramp TOP
Lesson 12
Variation: Adding boxes

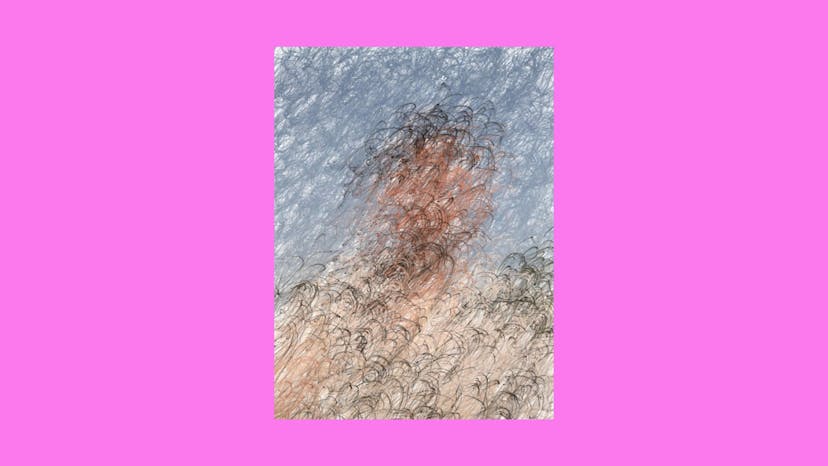
Lesson 01
Welcome to Paintwork
Lesson 02
Setting up the project
Lesson 03
Converting a point system into a CHOP system

Lesson 04
Adding a brush size with noise
Lesson 05
Adding a particle system with force and turbulence
Lesson 06
Fixing the color sampling by adding a custom attribute
Lesson 07
Adding a trail to each pen
Lesson 08
Playing with pen lines
Lesson 09
Changing the pen shape to a box
Lesson 10
Controlling the lifespan of each pen
Lesson 11
Thank you for watching!

SuperHi students work at the best
Our students are based all over the world and work at creative companies large and small. Why not check out some of their work?
View student workFeeling stuck?
Don’t worry, we are here to help you with:
- Speedy help from one of our team members
- Detailed, relevant solutions
- Direct access to peer support through Discord!
Remember, there’s no such thing as a silly question, so don’t hesitate to reach out, we love hearing from you!